

For most everyday commuters, a good rearview mirror does the job. For riders who want active alerts, night recording, and evidence after a close call, a radar or camera system earns its higher price. The trade-off comes down to cost versus active safety, and the checklist below settles which side of that line you fall on.
TL;DR:
- Radar and camera systems offer extended night vision and reach up to 140 meters behind, but they require regular charging and cost over $200.
- Proper mounting and fitting are critical; loose or poorly installed units, whether mirrors or cameras, significantly reduce effectiveness and reliability.
- Radar systems can miss vehicles matching your speed or in tight formations, so they should complement, not replace, your judgment.
- The choice between mirrors and radar-camera setups depends on ride length, lighting conditions, risk exposure, and your willingness to maintain and charge devices.
Table of Contents
- Rétroviseur Vélo Ou Caméra: Weighing The Basics
- How Do Mirrors And Cameras Perform On Real Rides?
- What It Takes To Install, Power, And Maintain Each System
- What Should You Expect To Pay For Each Option?
- How Do You Decide Which One Fits Your Riding?
- How THE BEAM Approaches Rear Visibility
- A Straight Answer On What Actually Matters Here
- Where To Find THE BEAM’s Rear Visibility Gear
- Where To Verify These Specs Yourself
- Sources
Rétroviseur Vélo Ou Caméra: Weighing The Basics
A mirror costs less, needs no charging, and works the moment you clip it on. A camera or radar unit sees farther, works in the dark, and gives you something a mirror never can: proof. Neither wins outright. The right pick depends on what you ride, where, and how much risk you’re willing to manage passively versus actively.
Mirrors: the case for simplicity
- Inexpensive, typically $15 to $40 for a handlebar or sunglasses-mounted unit
- Always on, no battery, no app to pair
- Limited field of view and prone to vibration blur on rough roads
Cameras and radar systems: the case for active safety
- Wide-angle coverage, night vision on higher-end units, and real-time approach alerts
- Records footage that can serve as evidence after an incident
- Higher cost, shorter runtime, and a setup process that takes more than a clip-and-go mount
Commuters riding smooth, well-lit routes often do fine with a mirror. Riders on rural roads, night shifts, or long-distance routes tend to lean toward radar or camera setups because the added awareness compounds over hours in the saddle.
How Do Mirrors And Cameras Perform On Real Rides?
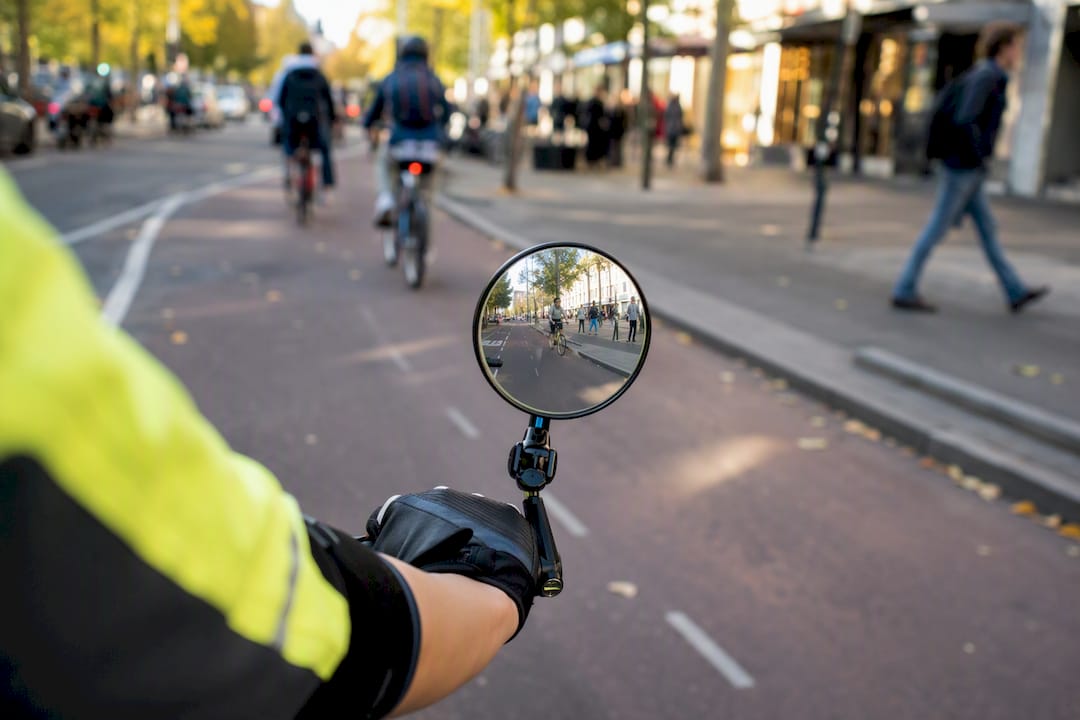
A convex bike mirror typically shows you a limited field of view, enough to catch a car’s headlights but not enough to track a cyclist drafting three bikes back. Camera systems built for rear visibility often advertise a wide field of view, which changes what you actually perceive, not just how far you can see.
Night performance is where the gap widens the most. A mirror is only as good as ambient light lets it be. Camera units with infrared or LED-assisted sensors keep working after dark, and systems like the Garmin Varia pair that with radar detection reaching roughly 140 meters behind the rider, giving you a warning well before a car is close enough to matter.
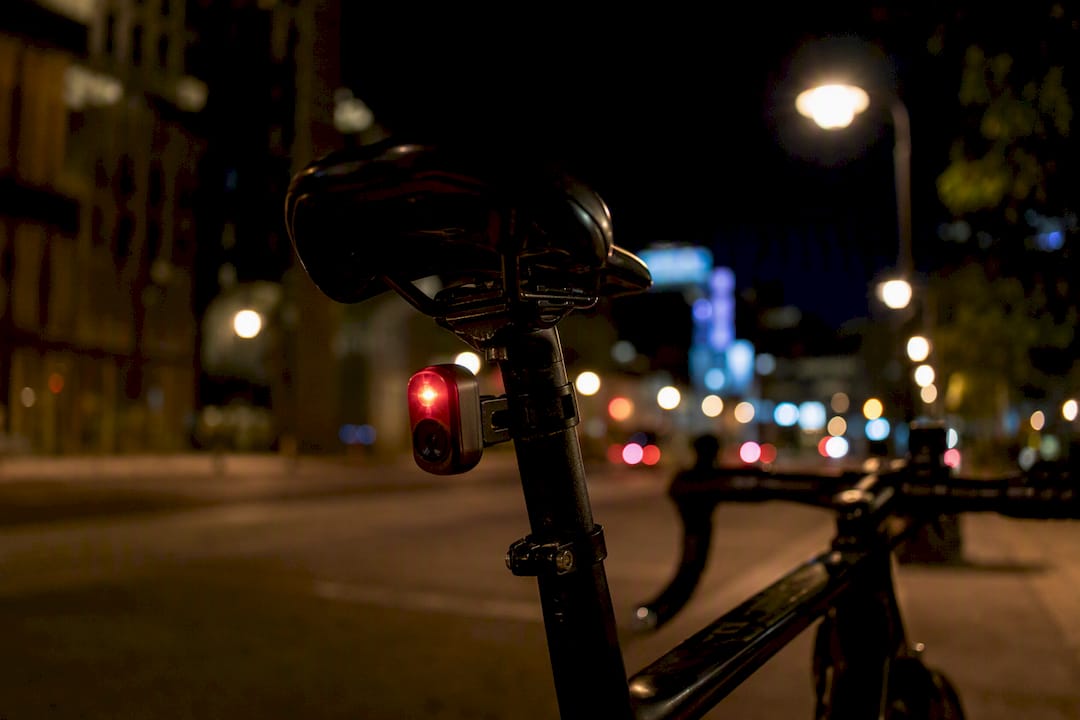
That radar layer is the real differentiator. Instead of glancing back to check, you get a tone or a light that tells you something is approaching, and how fast. The newer Luna Oculus pushes this further, using AI to flag dangerous stretches of a route in advance and streaming 1080p video to your phone, with around six hours of reported runtime per charge.
There’s a catch worth knowing before you trust radar completely: detection algorithms can miss a vehicle that’s matching your exact speed, since the system reads relative motion, not absolute distance. That’s a real limitation in group rides or tight platoons, and it’s why radar should supplement your judgment, not replace it.
Glancing at a small mirror takes a fraction of a second. Checking a phone-linked app while riding takes your eyes off the road far longer, so the best camera systems put alerts on a handlebar display or through audio, not a screen you have to unlock. Recorded, GPS-tagged clips also mean an incident doesn’t just fade into memory. It becomes something you can actually show someone.
What It Takes To Install, Power, And Maintain Each System
Fit matters more than most riders expect. Mirrors mount to bar-ends, handlebars, or even sunglasses, and each position changes how much you need to turn your head to use it. Camera and radar units usually clamp to a seatpost, saddle rail, or handlebar, and some integrate with e-bike drivetrains and displays, similar to how Shimano’s E-Tube ecosystem lets accessories talk to a bike’s electronics.
- Bar-end mirrors: stable, low vibration, but can catch on tight spaces when parking
- Handlebar clamp mirrors: easy to adjust, more exposed to knocks
- Seatpost or saddle-mounted cameras: good field of view, need secure clamping to avoid drift
- Helmet or sunglasses mounts: keep the view aligned with your head, but add weight up top
Battery life for cameras and radar units commonly runs three to six hours with recording active, so daily commuters need a charging routine, not just a full battery on ride day. Look for an IP rating of at least IP55 for wet-weather reliability. Mirrors don’t have batteries to worry about, but stripped screws and cracked mounts are their most common failure point over a few seasons of use.
Pro Tip: Tighten mirror mounts, then tap the handlebar firmly with your palm. If the reflection blurs, the mount isn’t seated properly. Fix it before your first real ride, not after.
What Should You Expect To Pay For Each Option?
Budget mirrors run $15 to $40 and that’s usually the entire cost. No subscriptions, no accessories required. Mid-range cameras without radar, the kind sold widely as standalone rearview units, generally cost dozens to around a hundred dollars, often with wide fields of view and moderate battery life.
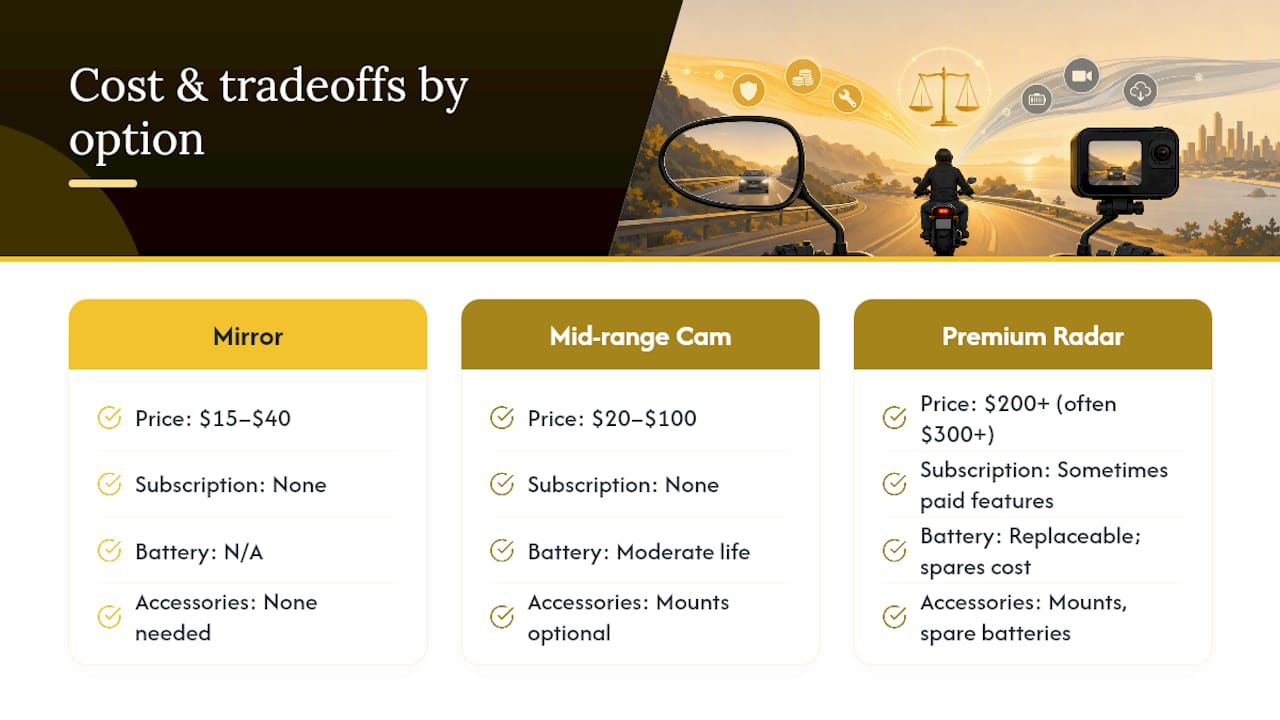
Premium radar-camera bundles push past $200, sometimes well past $300 once you add mounts, spare batteries, or app integrations. Hidden costs matter here: some ecosystems charge for extra features through an app, and replacement batteries or damaged units add up over a few years of riding.
A city commuter on a short, well-lit route rarely needs more than a mirror. A long-distance or e-bike rider covering rural roads at dawn or dusk gets measurably more value from the alerts and recording a radar-camera system provides, even at the higher price.
How Do You Decide Which One Fits Your Riding?
- Define your primary use: short urban commute, long rural rides, or mixed conditions with variable light.
- Check mounting constraints on your specific bike, including whether your bars, seatpost, or helmet can take the unit you want.
- Decide if recorded video matters to you as evidence, not just as a feature.
- Be honest about your tolerance for charging routines versus a maintenance-free mirror.
- Set a real budget, including mounts and any subscription costs, not just the sticker price.
Before buying, ask the seller directly about IP rating, field of view in degrees, video resolution, and how incident-lock behavior works when the unit senses a sudden stop or impact. Ask about phone integration and whether support exists in your market.
Red flags include vague low-light specs, no mention of firmware updates, and closed ecosystems with no local support if something breaks.
How THE BEAM Approaches Rear Visibility
Thebeamofficial builds rearview mirrors designed around the same fit issues that cause most mirror complaints: vibration blur and poor mounting. The installation guide for cyclist rear-view mirrors walks through the exact adjustments that keep a mirror’s reflection stable on rough pavement, something budget mirrors rarely address well.
Every product decision maps back to the checklist above: secure mounting across handlebar and sunglasses formats, materials built to survive multiple seasons, and a design that doesn’t require an app or a charging habit to work every time you swing a leg over the saddle.
A Straight Answer On What Actually Matters Here
The radar and AI features rolling out through 2026 are genuinely useful, not marketing dressing. A system that flags an approaching car 140 meters out changes how you ride, and a locked incident clip changes what happens after a collision. That’s real progress, and I don’t think the cycling safety conversation gives it enough credit.
But conventional advice oversells the urgency of switching everyone to cameras. Most riders don’t need six hours of battery anxiety and a phone app to survive a five-mile commute on a bike path they’ve ridden for years. What the research actually supports is matching the tool to the exposure: low light, long distances, and high traffic justify the cost and complexity of radar. Predictable, short, familiar routes don’t.
Start with a mirror that’s mounted properly. It solves more problems than people expect, and a poorly fitted $300 camera system beats no camera, but a well-fitted $25 mirror beats a poorly fitted one every time.
— Sophie
Where To Find THE BEAM’s Rear Visibility Gear
If a mirror fits your riding, Thebeamofficial’s mirror lineup is built to solve the two complaints that ruin most cheap mirrors: vibration blur and loose mounts. Pair one with the FRAME FLASH high-visibility reflectors for added rear presence at dawn, dusk, or in low light, especially useful for riders not ready to commit to a full camera setup yet.

Not sure which mount or style fits your bike? The full product collection breaks down every mirror and accessory by fit type, so you can match your bars, sunglasses, or seatpost to the right option before buying. Check the specs, read the installation guide, and pick the setup that matches how you actually ride, not how a marketing page assumes you ride.
Where To Verify These Specs Yourself
For deeper specs on radar-camera systems, the Garmin Varia review covers detection range and recording quality in detail. The radar buying guide compares Varia, Bryton, and Magene head to head. Always check a device’s own listing for exact battery and field-of-view figures before buying.
Sources
- Luna Oculus : date de sortie et prix de ce radar vélo avec caméra IA — Frandroid
- Garmin Varia Radar Caméra ★ Avis 2026 : Le bon choix ? | Velos-Pro - Magazine Cyclisme Expert
- Radar vélo : Varia, Bryton ou Magene, guide et comparatif


