

Anti-glare cycling lenses work: they cut distracting reflections and let more usable light reach your eyes, so you spot potholes, cars, and wet patches sooner and squint less over a long ride. The mechanism is straightforward. Anti-reflective (AR) coatings are built from ultra-thin layers of metal oxide that cancel reflections through destructive interference, and modern versions can let around 99.5% of available light pass through the lens instead of bouncing it back into your eyes. That translates into fewer halos around headlights, better contrast at dusk, and less strain on a five-hour ride.
- Hazard detection: less glare means potholes and debris register faster, not a half-second late.
- Night and low-light clarity: reduced halo effect around headlights and streetlights on commutes.
- Less fatigue: eyes stop fighting reflections, so they tire slower on long descents or group rides.
Key Takeaways
Anti-glare lenses reduce reflections and eye strain, which lets cyclists detect hazards earlier and ride longer without visual fatigue.
| Point | Details |
|---|---|
| AR beats reflections, not glare types | Anti-reflective coatings cut surface reflections broadly; polarization targets horizontal glare specifically. |
| Match VLT to conditions | Use darker tints (— VLT) for bright sun, clear or yellow (75%+) for dawn, dusk, or night. |
| Know the trade-offs | AR coatings scratch more easily, show smudges more, and cost more upfront than uncoated lenses. |
| Maintain coatings properly | Rinse before wiping, use microfiber, avoid heat, and skip ammonia-based cleaners. |
| Pair lenses with the right helmet | Thebeamofficial’s vented helmet designs help prevent fogging that would otherwise undercut anti-glare clarity. |
Table of Contents
- Why Use Anti-Glare Cycling Lenses on the Road?
- How Do Anti-Reflective Coatings Differ From Polarized Lenses?
- Which Lens Tint and VLT Work Best for Cycling?
- What Are the Downsides of Anti-Glare Coatings?
- Which Coatings Pair Well With Anti-Glare Lenses, and How Do You Maintain Them?
- How Do You Choose the Right Anti-Glare Lenses?
- Matching Lenses to Your Helmet and Riding Style
- If You Want a Ready Option: THE BEAM’s Compatible Choices
- Frequently Asked Questions
- Sources
Why Use Anti-Glare Cycling Lenses on the Road?
AR coatings strip reflections off both the front and back surfaces of the lens, not just one. That matters more than it sounds. A single-side coating still bounces light off the inner surface into your eye, which is exactly what causes that washed-out haze you get riding into low sun. Coating both sides gives you a cleaner, higher-contrast image in nearly every lighting condition you’ll actually ride in.
The rider-relevant payoff breaks down like this:
- Better contrast when you move from open road into tree shade and back, a transition that normally forces your eyes to readjust every few seconds.
- Less glare bouncing off wet asphalt or car hoods, which is common on morning commutes after rain.
- Less squinting at speed, since your eyes aren’t compensating for reflected light.
- Lower eye fatigue on rides longer than two hours, when constant micro-squinting adds up.
The safety math is simple: reduced reflections from wet roads, hoods, and oncoming headlights translate directly into earlier detection of curves, lane changes, and hazards. A pothole you spot one second earlier at 25 mph is nearly 40 feet of extra reaction distance. That’s the entire argument for anti-glare cycling eyewear in one sentence.
How Do Anti-Reflective Coatings Differ From Polarized Lenses?
They solve two different problems, and mixing them up leads to the wrong purchase. AR coatings are multi-layer treatments that reduce internal and surface reflections across almost any lighting condition. Polarization is a filter that blocks horizontally polarized light, the specific glare that bounces off flat surfaces like pavement, water, or a car hood.
- Choose polarization for bright, dry, or snowy conditions where horizontal glare off the road or a lake is the main problem.
- Choose AR for low light, dusk, and night riding, where the goal is transmitting more available light rather than blocking a specific glare type.
- Polarized lenses excel at killing horizontal glare but stay distinct from AR coatings, which apply more broadly across lighting environments including night rides.
Pro Tip: Polarized lenses can mask the subtle sheen that tells you a road surface is wet or icy, and they sometimes make bike computer or phone screens hard to read at certain angles. If your rides mix bright afternoon sun with early morning starts, an AR coating on a lightly tinted lens covers more ground than polarization alone.
Which Lens Tint and VLT Work Best for Cycling?
Visible Light Transmission (VLT) tells you what percentage of light reaches your eye, and it should drive your tint choice more than color preference does. Lens color and VLT category directly affect contrast and how well a lens suits specific riding conditions.
| VLT Range | Best Tint | Ideal Riding Condition |
|---|---|---|
| — | Dark gray, black | Bright sun, high-altitude glare |
| — | Brown, amber | Mixed sun and cloud, variable terrain |
| — | Rose, light amber | Overcast, patchy light through trees |
| — | Yellow, clear | Dawn, dusk, night riding |
Photochromic lenses try to cover the whole range in one pair by darkening or lightening automatically. They work well for long rides with big elevation or weather swings, but transitions aren’t instant and performance drops behind a car windshield since photochromic technology reacts to UV exposure, which glass and some visors block.
- Dawn or dusk commuter: yellow or clear lens, high VLT, AR coating prioritized.
- Long mixed-elevation road ride: photochromic, accepting the slower transition trade-off.
- Mountain singletrack in full sun: darker amber or gray, lower VLT.
What Are the Downsides of Anti-Glare Coatings?
No coating is free of trade-offs, and cyclists should know them before buying. AR layers are thinner and more exposed than the lens itself, which makes them more prone to scratching than an uncoated lens. Because they cut reflections so effectively, any smudge, sweat, or fingerprint also becomes more visible, not less. Expect to pay more for a factory-applied AR coating versus a basic tinted lens.
Anti-reflective coatings cut glare and eye strain effectively, but they scratch more easily and add cost, which is why higher-end options often bundle a scratch warranty. AR also won’t fix everything: in pitch darkness, VLT and a proper front light matter more than the coating, and if your problem is specifically horizontal glare off wet pavement, polarization handles that better than AR alone.
- Heat is the enemy: a hot car dashboard or glovebox can degrade the coating over time.
- Rough wiping with a shirt or paper towel accelerates micro-scratching on the coated surface.
Which Coatings Pair Well With Anti-Glare Lenses, and How Do You Maintain Them?
AR rarely travels alone. High-quality AR coatings are often paired with hydrophobic and oleophobic layers, which shed water and repel skin oil and sunscreen. Add an anti-fog layer and you’ve got a lens built for climbs where your effort spikes and stops where your breathing does the same.
- Rinse lenses under water before wiping to flush off grit that would otherwise scratch the coating.
- Dry with a clean microfiber cloth, never a shirt hem or paper towel.
- Avoid leaving glasses in a hot car or direct sun for extended periods.
- Store in a hard case when not worn, not loose in a jersey pocket.
- Use manufacturer-recommended cleaning spray rather than household glass cleaner.
Pro Tip: Skip aggressive multi-surface sprays entirely. Ammonia-based or abrasive cleaners can break down the metal-oxide layer over time, leaving faint rainbow streaking that never fully wipes away.
How Do You Choose the Right Anti-Glare Lenses?
Run through this before buying, whether you’re shopping online or standing in a shop:
- Riding conditions first: mostly daylight, mixed, or heavy dawn/dusk and night riding?
- Required VLT: match the table above to your typical rides, not your favorite tint color.
- Helmet and visor integration: check that the frame doesn’t clash with your helmet’s temple arms or visor.
- Field of view: wraparound frames reduce peripheral glare gaps that a flat lens leaves open.
- UV400 protection: confirm the lens blocks 100% of UVA and UVB, non-negotiable regardless of tint or coating.
- Device readability: if you rely on a bike computer or phone screen, ask whether the lens is polarized before buying.
Questions worth asking an optician or reading in the spec sheet: Is the AR coating factory-applied to both surfaces? Is there a scratch warranty? Does it include hydrophobic or oleophobic layers? What frame shapes does it come in?
Matching Lenses to Your Helmet and Riding Style
Lens choice doesn’t work in isolation. A great AR lens paired with a helmet that traps heat and fogs your view undoes half the benefit. Check that your frame’s temple height clears your helmet’s strap and visor without pinching, and confirm the helmet’s venting keeps airflow moving during climbs so fogging doesn’t cancel out that anti-glare clarity.
- Confirm visor clearance if your helmet has one, so the lens frame doesn’t sit crooked.
- Prioritize helmets with active venting channels if you ride climbs where fogging is common.
- Pair lens choice with a night riding routine built around visibility, not just eyewear.
Pro Tip: Try on the helmet and glasses together before a purchase, not separately. Fit conflicts only show up once both are on your head at the same time.
A Rider’s Note on AR Lenses in the Real World
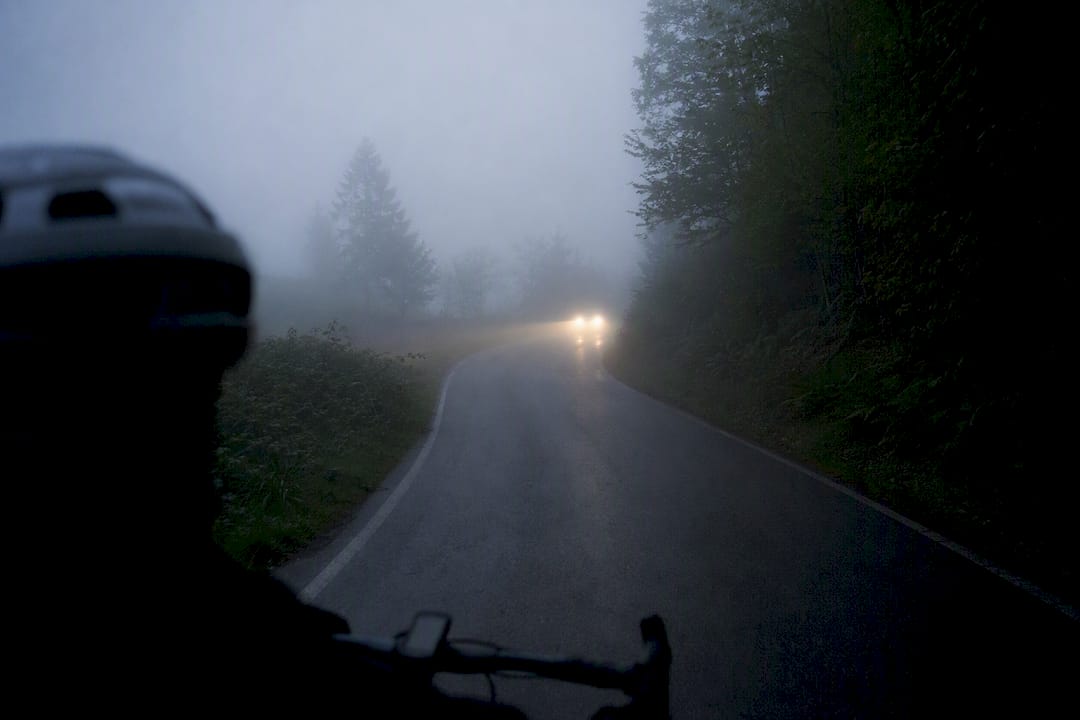
On a foggy predawn ride down a rural descent, oncoming headlights used to bloom into starbursts that made judging distance nearly impossible. Switching to AR-coated lenses cut that halo effect enough to actually read how far off each car was, which sounds small until you’re the one deciding whether to hold your line or drift wide.
If You Want a Ready Option: THE BEAM’s Compatible Choices
Clear vision only protects you if the helmet underneath is doing its job too. Thebeamofficial builds its lineup around that pairing: a properly vented, well-fitted helmet plus lenses that cut glare gives you both earlier hazard detection and better impact protection in the same setup.

The VIRGO helmet lineup integrates MIPS technology with venting designed to reduce fogging, so your eyewear stays clear on climbs instead of working against you. If you’re outfitting a full setup, the accessories collection covers cases and cleaning kits that keep AR coatings scratch-free between rides. Browse the helmet lineup and check sizing against your current eyewear before your next order.
Frequently Asked Questions
What are the benefits of anti-glare cycling lenses? They reduce reflections on both lens surfaces, improve contrast in shifting light, cut eye fatigue on long rides, and help you spot road hazards and headlights sooner.
Is it worth it to pay extra for anti-glare coating? For most cyclists who ride at dawn, dusk, or in variable weather, yes. The added cost buys measurably clearer vision and less strain, though casual daytime-only riders may not notice as much benefit.
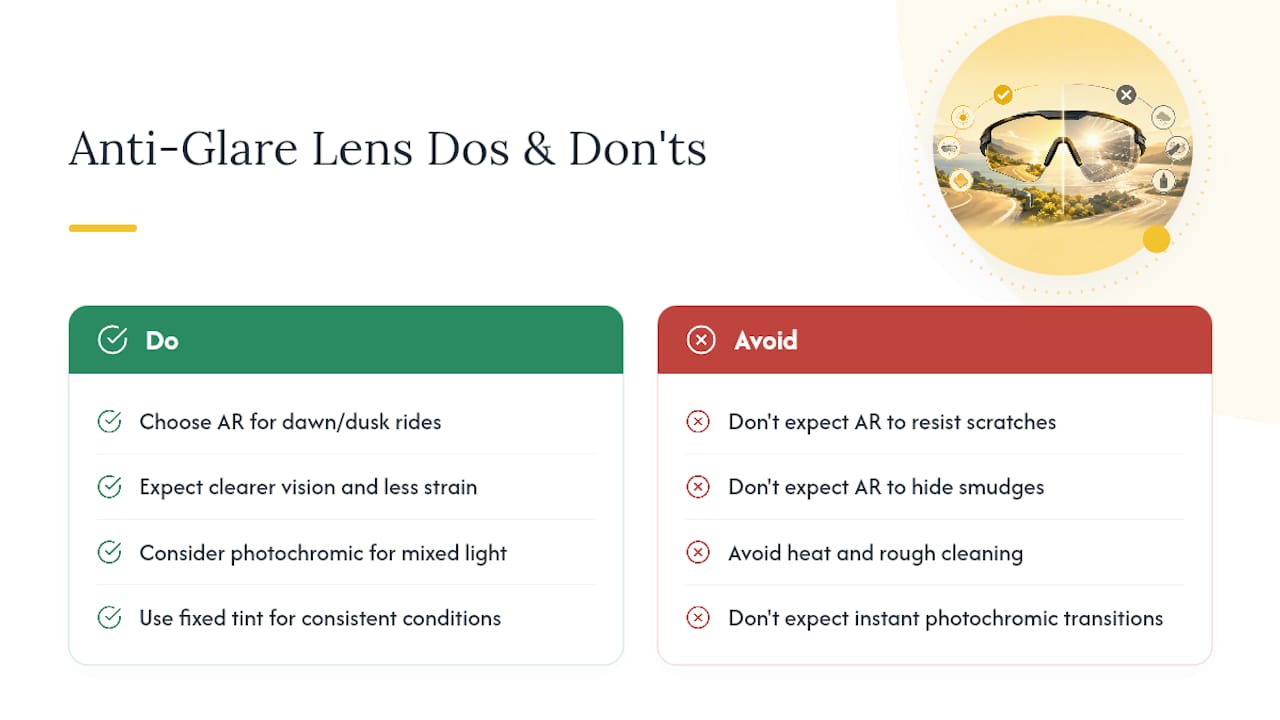
What are the disadvantages of AR coatings? They scratch more easily than uncoated lenses, show smudges more visibly, and cost more upfront. Heat exposure and rough cleaning can also degrade the coating faster.
Are photochromic cycling glasses worth it? They’re a strong compromise for rides that cross sun, shade, and cloud, but the transition isn’t instant and they perform worse behind glass, like a car windshield. For consistent conditions, a fixed tint often works better.
Sources
- Anti-Reflective Coating for Glasses: Benefits and Tips (AllAboutVision)
- Are anti-reflective coatings worth the extra cost? (Verywell Health)
- Cycling sunglasses explained: Lens color, coverage, and what actually matters (BikeTips)


