

TL;DR:
- Gravel cycling safety depends on proper riding techniques, suitable gear, and thorough pre-ride planning. Technique, such as body position, relaxed grip, and looking ahead, forms the foundation for safe off-road riding. Carrying the right lights, helmet, repair tools, and appropriate clothing helps prevent accidents and manage risks effectively.
Gravel cycling safety is the practice of combining skillful riding techniques, appropriate gear, and terrain awareness to navigate unpredictable off-road surfaces without unnecessary risk. Unlike road cycling, gravel riding exposes you to loose surfaces, remote locations, and rapidly changing conditions that demand a different approach to preparation. The core components of gravel cycling safety include body position, braking technique, equipment selection, and pre-ride planning. Get these four right, and you ride with confidence on any surface.
What is gravel cycling safety, and why does technique come first?
Technique is the foundation of safe gravel riding. No amount of gear compensates for poor body position or bad braking habits on loose terrain.
The ready position is the single most effective technique for gravel stability. It means riding with bent elbows and knees, which lets your body absorb trail vibrations instead of transmitting them rigidly through your arms. On descents especially, consciously flexing your elbows and knees absorbs trail vibrations and keeps the front wheel tracking cleanly. Locked arms send every bump straight to your hands and handlebars, reducing your ability to steer.
Your grip matters just as much as your posture. Relaxed hands produce better bike tracking and stability on gravel. A tight grip creates tension through your shoulders and arms, which worsens your reaction time and makes small corrections harder. Think of holding the bars firmly enough to control them, but loosely enough that your wrists stay supple.
Scanning ahead is the third pillar of gravel technique. Looking 30–50 feet ahead allows you to anticipate surface changes, pick a clean line, and brake before a problem arrives rather than during it. Riders who stare at the ground directly in front of their wheel react late and brake hard, which is exactly when crashes happen.
- Ready position: Bend elbows and knees to absorb bumps and maintain steering control.
- Relaxed grip: Keep hands firm but supple. Tension worsens handling on loose surfaces.
- Eyes up: Scan 30–50 feet ahead to read terrain and choose your line early.
- Micro-slides: Small wheel slides on gravel are normal. Stay calm and let the bike self-correct.
- Braking: Use both brakes simultaneously with progressive modulation. Apply more front brake at speed, and feather the rear to complement it.
Pro Tip: Many crashes result from riders overreacting to normal gravel micro-slides. When your wheel slides slightly, resist the urge to grab the brakes hard. Stay relaxed, keep your weight centered, and let the tire find traction on its own.
What essential gear supports safety in gravel cycling?
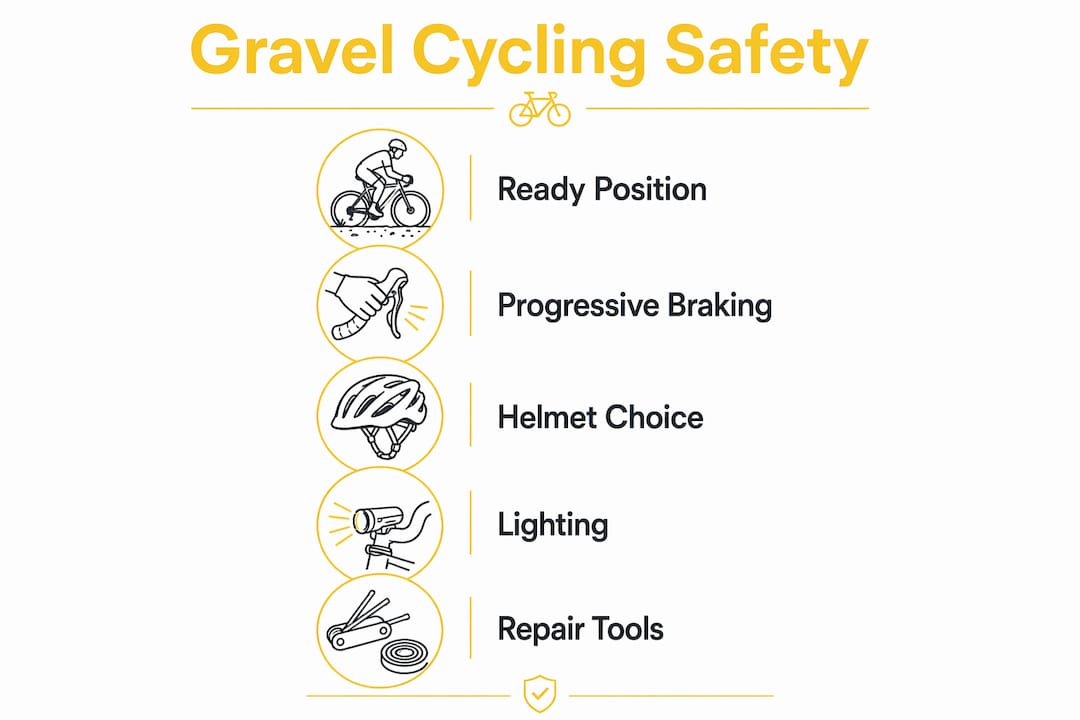
The right gear does not replace skill, but it closes the gap between a minor incident and a serious one. Gravel cyclist safety essentials fall into four categories: lighting, head protection, repair tools, and clothing.
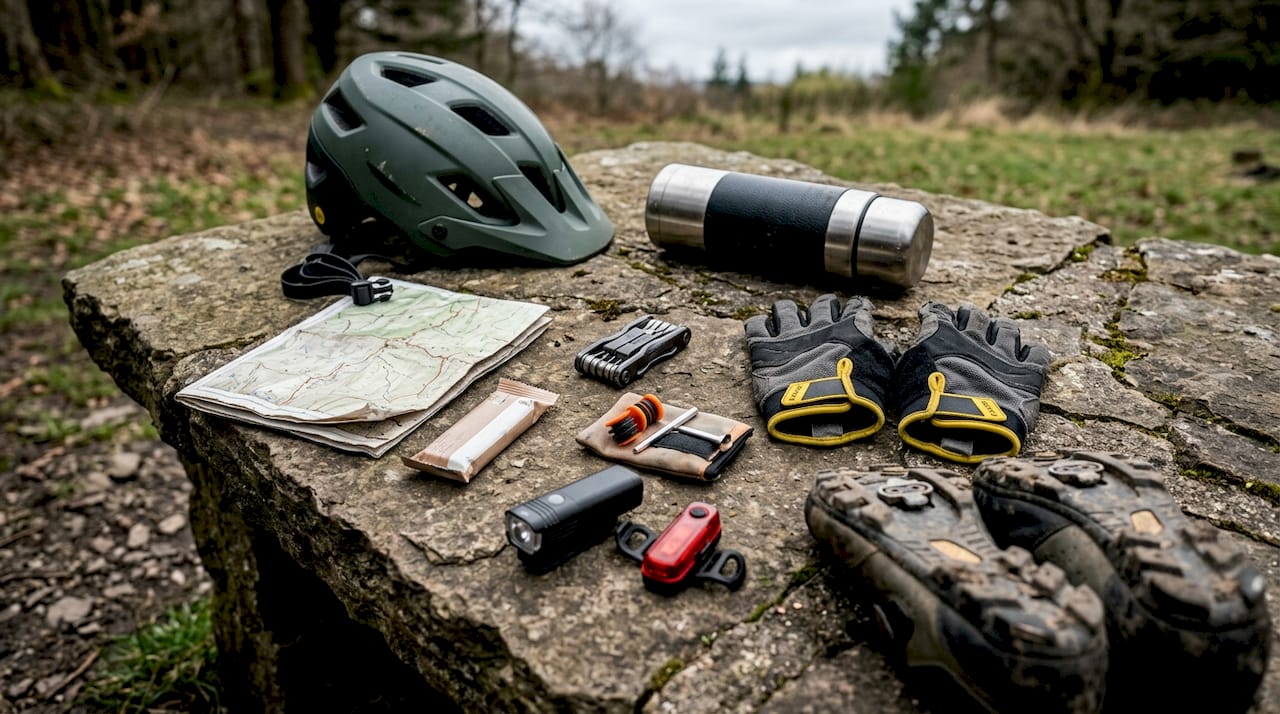
Lighting requirements
Front and rear lights are non-negotiable for gravel rides, even in daylight. A front light with minimum 300 lumens output and at least a 3-hour burn time gives you enough visibility for trail features and enough runtime for longer rides. Rear lights signal your position to any vehicles you encounter on public roads. Thebeamofficial designs high-visibility reflectors and connected accessories specifically for cyclists who ride in varied light conditions, including the FRAME FLASH reflectors that improve your side visibility on gravel paths and roads.
Helmet selection
A helmet suited for rugged terrain is the single most important piece of protective gear you carry. Gravel helmets need to handle both aerobic trail riding and the occasional technical section where a fall is more likely than on pavement. Thebeamofficial’s VIRGO integral helmet with MIPS technology addresses this directly. MIPS (Multi-directional Impact Protection System) reduces rotational forces on the brain during angled impacts, which are the most common type in off-road falls. A full guide on why gravel helmets matter covers the specific protection features worth prioritizing.
Repair tools and tires
| Gear Item | Specification | Purpose |
|---|---|---|
| Front light | 300 lumens minimum, 3-hour burn time | Trail visibility and road safety |
| Multi-tool | Includes chain breaker | On-trail mechanical repairs |
| Spare tubes and tubeless plugs | Match your tire size | Fast puncture repair |
| Tire width | 32–50mm | Traction on varied surfaces |
| Tire pressure | 45–70 psi (tubeless allows lower) | Grip and puncture resistance |
Wider tires at lower pressures improve traction on loose gravel, but they increase puncture risk on sharp terrain. Tubeless setups solve this by allowing you to run lower pressures safely, with sealant that plugs small punctures automatically. Carry tubeless plugs for larger cuts that sealant cannot handle alone.
Clothing and gloves
Padded gloves protect your palms in a fall and reduce hand fatigue on long rides. For temperature management, layer with a wind vest and arm warmers rather than a heavy jacket, which limits movement. Bright or reflective clothing improves your visibility to drivers on any road section of your route.
How does terrain and environment impact gravel cycling safety?
Terrain type changes everything about how you ride and what gear you need. Loose gravel, packed dirt, and mixed surfaces each demand different tire pressures, braking distances, and body positions.
Wet conditions reduce braking effectiveness significantly. Rain turns loose gravel into a slick surface where even progressive braking can cause slides. In wet weather, increase your following distance from other riders, reduce speed before corners, and shift your weight slightly back to keep the rear wheel from washing out. Legal compliance plus technical riding skills equals safe gravel cycling on public roads, where traffic adds another variable to manage.
Remote riding introduces risks that urban cyclists rarely face. When you are 20 miles from the nearest town, a mechanical failure or injury becomes a serious problem without the right preparation. Emergency communication tools, whether a satellite messenger or a fully charged phone with downloaded offline maps, are gravel riding safety essentials for any backcountry route.
- Loose gravel: Lower tire pressure improves grip. Brake earlier and more gently than on pavement.
- Packed dirt: Faster and more predictable, but slippery when wet. Treat it like wet pavement.
- Mixed terrain: Shift your weight and adjust pressure on the bars as the surface changes beneath you.
- Remote areas: Carry a satellite communicator or ensure cell coverage before departing.
- Public roads: Follow the Highway Safety Code. Signal turns, ride predictably, and use lights.
Pro Tip: Before riding a new gravel route, check the gravel event categories used by local organizers. These categories describe terrain difficulty and surface type, giving you a reliable preview of what to expect before you commit to a route.
What are best practices for planning a safe gravel ride?
Planning prevents the majority of gravel riding incidents. A structured pre-ride routine takes less than 15 minutes and eliminates the most common causes of mechanical failures and navigation problems.
- Inspect your bike. Check tire pressure, brake pad wear, and derailleur function before every ride. A loose bolt or worn brake pad is easy to fix at home and dangerous to discover on a descent.
- Share your route. Tell someone your planned route and expected return time. If you ride alone in remote areas, share a GPS track with a contact who knows to call for help if you do not check in.
- Carry signaling devices. A whistle, a small mirror, or a satellite messenger gives you options if your phone loses signal. Bike checks, route sharing, and first aid are the three pillars of gravel ride preparedness.
- Pack a first aid kit. At minimum, carry bandages, antiseptic wipes, and blister treatment. For longer rides, add an emergency blanket and pain relief medication.
- Know your exit points. Study your route for roads or trails that cut back to civilization. If conditions deteriorate, you want a shorter option ready without needing to improvise.
Group riding adds another layer of safety. Riding with others means someone can go for help if you are injured, and the group’s combined gear covers more scenarios than any single rider’s kit. Establish a clear communication system before the ride, including hand signals for hazards and a protocol for dropped riders.
For a complete pre-ride checklist, the ultracyclist safety checklist from Thebeamofficial covers gear, preparation, and expert tips that apply directly to gravel rides of any distance.
Key Takeaways
Gravel cycling safety requires mastering body position and braking technique, carrying the right gear, and planning every ride with terrain and emergency access in mind.
| Point | Details |
|---|---|
| Technique before gear | The ready position, relaxed grip, and progressive braking prevent most gravel crashes. |
| Lighting standards | Use a front light with at least 300 lumens and 3-hour burn time on every ride. |
| Helmet protection | Choose a helmet with MIPS technology to reduce rotational impact forces in off-road falls. |
| Terrain adaptation | Adjust tire pressure, braking distance, and body weight for each surface type. |
| Pre-ride planning | Share your route, inspect your bike, and carry first aid gear before every remote ride. |
What I’ve learned from watching riders get gravel wrong
Most gravel riders do not crash because of bad gear. They crash because of bad habits carried over from road cycling. The death grip is the clearest example. Road cyclists grip hard because road bikes are stiff and responsive. On gravel, that same grip creates a rigid connection between your body and the bike, so every surface irregularity goes straight to your hands and amplifies your reaction. The fix is counterintuitive: loosen your grip when the terrain gets rougher, not tighter.
The second mistake I see constantly is panic braking during a micro-slide. A small rear wheel slide on loose gravel is not a crash. It is the bike doing exactly what it should do. Experienced riders recognize that small bike slides are normal and staying relaxed allows the bike to self-correct. The riders who go down are the ones who grab the brakes the moment they feel movement, which locks the wheel and turns a manageable slide into a fall.
The third issue is treating gear as a substitute for skill. A great helmet protects you when you crash. Good technique reduces how often you crash. Both matter, but the order matters too. Build your technique first, then invest in gear that matches the terrain you actually ride.
— Sophie
Gear built for the terrain you ride
Gravel riding puts your equipment through conditions that road gear was never designed for. Vibration, dust, mud, and remote exposure demand protection that holds up across full days in the saddle.

Thebeamofficial designs helmets and safety accessories specifically for cyclists who take protection seriously. The VIRGO integral helmet with MIPS technology delivers certified impact protection for rugged terrain, while the FRAME FLASH reflectors and high-visibility accessories keep you seen on every road section between trail segments. Browse the full adults’ helmet collection to find the right fit for your riding style, or explore the complete safety accessories range for visibility gear that works on gravel and beyond.
FAQ
What is gravel cycling safety?
Gravel cycling safety is the combination of riding technique, appropriate gear, and pre-ride planning that allows cyclists to navigate loose, unpredictable surfaces without unnecessary risk.
What lights do I need for gravel cycling?
A front light with at least 300 lumens output and a minimum 3-hour burn time is the standard recommendation for gravel rides, paired with a rear light for road sections.
How do I brake safely on gravel?
Use both brakes simultaneously with progressive modulation, applying more front brake at speed and feathering the rear. Avoid grabbing either brake suddenly, which causes wheel lockup on loose surfaces.
What repair tools should I carry on a gravel ride?
Carry a multi-tool with a chain breaker, spare tubes, tubeless plugs, and a tire lever. These cover the most common mechanical failures you will encounter on remote gravel routes.
Do I need a special helmet for gravel cycling?
A helmet with MIPS technology is strongly recommended for gravel riding because it reduces rotational forces during the angled impacts most common in off-road falls.


