

The fastest way to make a child visible on a bike is to combine four things: a properly fastened, CE-marked helmet for anyone under 12, a white front light, a red rear light, and a reflective vest or strips on the body or backpack. Skip any one of these and you’ve left a gap a driver’s eye can fall through, especially at dusk or in rain. Lights announce a moving object; reflective material and bright colors keep that object visible even when a light fails or a battery dies. Together, they cover both the “can a driver see movement” problem and the “can a driver judge distance and width” problem, which is exactly what causes close calls at intersections.
Here’s the starting checklist to run through tonight, before the next ride:
- Charge or check batteries on both lights.
- Fit the helmet so it sits level and the strap forms a snug V under the ears.
- Add a reflective vest or clip-on reflective bands to arms and ankles.
- Mount a rear light where the child’s body or backpack won’t block it.
- Confirm your setup against the official equipment rules before you head out.
Key Takeaways
Combining a certified helmet, front and rear lights, and reflective material closes the visibility gap that no single piece of gear can close alone.
| Point | Details |
|---|---|
| Helmet is non-negotiable under 12 | French law requires a CE-marked, EN 1078 helmet for children under 12, fastened by the responsible adult. |
| Layer active and passive systems | Pair a front white light and rear red light with reflective strips or a vest, since neither alone covers all conditions. |
| Mount lights where the body won’t block them | Use the seatpost or backpack for rear lights and add spoke reflectors for side visibility at junctions. |
| Run a 5-point check before every ride | Confirm lights, reflectors, brakes, tire pressure, and helmet fit before leaving the driveway. |
| Choose gear built for real placement | The Beam’s FRAME FLASH reflectors mount on the frame’s rear triangle so nothing blocks them, meeting CE standards while staying kid-friendly. |
Table of Contents
- What French Law Requires for Kids on Bikes
- Active Light or Passive Reflector: Which Actually Works?
- What to Buy and Where to Mount It
- Teaching Predictable Riding and Choosing Safer Routes
- A 5-Point Check Before Every Ride
- Sophie and The Beam on Building Visibility Into the Bike Itself
- Rain, Fog, and Dusk Change What Actually Works
- Does Bike Color Actually Matter for a Child’s Safety?
- Do LED Wearables and Safety Apps Actually Help?
- Why Adult Supervision Still Matters Most
- What Parents Get Wrong About Visibility Gear
- The Beam’s Reflectors Solve the Placement Problem Parents Miss
- Where to Verify the Rules and Research
- Sources
What French Law Requires for Kids on Bikes
France’s rule is direct: children under 12 must wear a bicycle helmet, and it’s the accompanying adult’s job to make sure it’s fastened and meets the EN 1078 standard. That standard is what the CE mark on the box is actually certifying, not just a sticker for show.
Lighting rules apply the moment visibility drops, whether that’s nighttime or a gray, rainy afternoon. A bike needs:
- A white or yellow front light.
- A red rear light.
- A red rear reflector.
- A bell in working order.
Riding without this equipment after dark can draw a fine, and it puts the burden of proof on the cyclist in the event of a collision. If you want to double check anything, the official mandatory equipment page lists the full requirements, and the Sécurité Routière visibility guidance covers the reasoning behind them. Rules get updated occasionally, so treat these two pages as your source of truth rather than secondhand summaries, including this one.
Active Light or Passive Reflector: Which Actually Works?
Active visibility is anything powered: a blinking or steady front light, a rear light, wheel lights. Passive visibility is anything that reflects light back at its source: reflective tape, retroreflective piping on a vest, spoke reflectors. Neither one covers for the other, and that’s the part most parents get wrong.
A fluorescent yellow jacket is superb in daylight and nearly useless after sunset, because fluorescence depends on ambient UV light that simply isn’t there at night. Reflective material solves that problem, but only when it’s hit directly by a car’s headlights, so a strip on the inside of a wrist or hidden under a jacket sleeve does nothing. Lights solve the “is anyone even there” problem in the dark, but a weak or angled front light can wash out or go unnoticed against streetlights and shop signage in town.
Official guidance settles the debate rather than leaving it open: combine active and passive systems, don’t pick one, according to Sécurité Routière. Research backs this up. A 2023 study on child cyclist safety found that reflective materials and enhanced lighting measurably improve detection distance compared to either approach alone.
For a practical setup on a child’s bike, aim for:
- A steady (not just blinking) front light for street riding, since drivers judge distance better from a constant beam.
- A rear light visible from a good distance in the dark, paired with the mandatory rear reflector as a backup.
- Reflective strips on a backpack or vest, positioned where they’ll catch headlights directly, not tucked under a jacket.
What to Buy and Where to Mount It
Buy in this order of priority, and don’t stop at “the bike came with reflectors already”:
- Helmet, fitted correctly — level on the head, two fingers of space above the eyebrows, strap snug enough to fit one finger underneath.
- Front and rear lights — rechargeable models save money over a season of school runs, but keep spare batteries on hand for backup units.
- Reflective vest or clip-on bands — for the torso, wrists, and ankles, since ankle movement is one of the most eye-catching things to a driver’s peripheral vision.
- Spoke or wheel lights — these cover the side angle that front and rear lights miss entirely, which matters most at intersections where cars are approaching from the side.
- A bell, because it’s required and it’s the fastest way to warn a pedestrian who hasn’t noticed you.
On mounting: put the rear light on the seatpost when there’s enough post exposed, or on the backpack or rear rack for smaller kids whose seatpost sits low, since a light mounted too low gets blocked by the rider’s own legs. Front lights work best angled slightly downward, high enough to clear the front wheel and low enough not to blind oncoming traffic. Spoke lights or reflectors clip directly onto the wheel and catch headlights from the side, a angle nothing else on the bike covers.
For runtime, look for lights rated at least 2 to 4 hours for a standard school commute, and build a charging habit, plug in when the backpack comes off, so a dead battery never becomes a Tuesday morning surprise.
Pro Tip: Let your child pick the color of their vest or light housing. Kids who choose their own gear are far more likely to actually wear it every day instead of leaving it in a drawer.
Teaching Predictable Riding and Choosing Safer Routes
Visibility gear only works if a child rides in a way drivers can predict. Coach these habits before the first solo ride:
- Ride in a straight line, not weaving between parked cars.
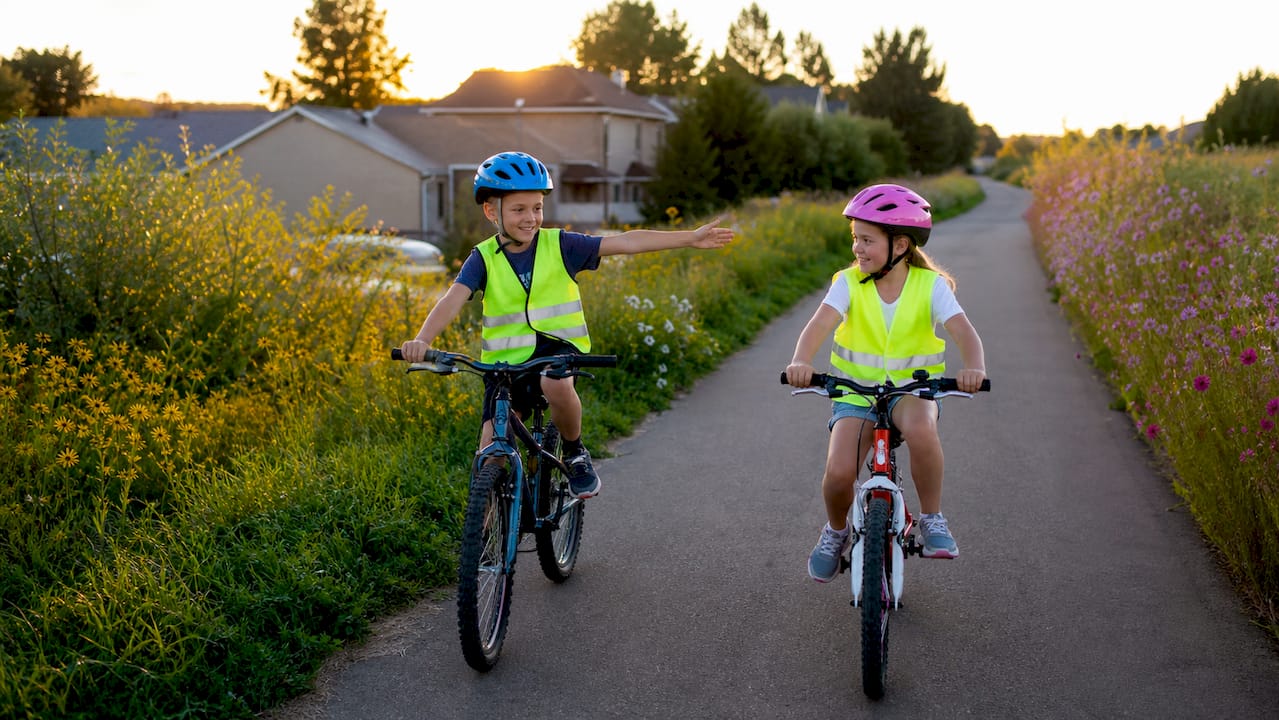
- Signal turns clearly with an arm out, well before the turn.
- Stop fully at crossings and make eye contact with drivers before moving.
Route choice matters just as much as behavior. Favor marked bike lanes over streets lined with parked cars, since a swinging door or a child popping out from behind a bumper is one of the most common causes of collisions. Ride the actual school route together several times before letting a child do it alone.
Riding in a group also helps: a cluster of kids is easier for a driver to spot than one small rider, though that benefit only holds if the group stays orderly rather than spreading across the lane or racing ahead. Two quick drills worth ten minutes each: practice stopping and putting a foot down at every intersection, and practice the hand signal for “stopping” and “turning” until it’s automatic.
A 5-Point Check Before Every Ride
Run this before the bike leaves the driveway:
- Lights on and charged (or fresh batteries in place).
- Reflectors clean, since official safety checklists treat mud-caked reflectors as good as missing ones.
- Brakes responsive with a firm squeeze, not soft or delayed.
- Tires properly inflated, checked by hand or gauge.
- Helmet fitted and buckled, not just sitting loose on the head.
Do a full gear inspection weekly, and replace any reflector that’s cracked, faded, or peeling immediately, since scratched plastic scatters light instead of bouncing it straight back. If a light mount rattles loose or you spot condensation building up inside the lens, both signal it’s time for a replacement rather than a repair.
Sophie and The Beam on Building Visibility Into the Bike Itself
At The Beam, visibility isn’t an accessory bolted on as an afterthought. It’s designed in from the mounting point out, which means reflectors and lights that clip on without tools, sit where a body won’t block them, and meet CE requirements out of the box.
Placement is the detail parents skip. A reflector on the seat tube does almost nothing if the seat itself blocks it from a driver’s headlights. Mount it on the frame’s rear triangle or the backpack instead, and it does its job every single time.
… Sophie has written more on this at The Beam’s visibility guide.
Rain, Fog, and Dusk Change What Actually Works
Every visibility system behaves differently depending on the weather, and dusk is arguably the most dangerous window of the day, not full darkness. Drivers’ eyes are still adjusting from daylight, ambient light is falling fast, and many cyclists haven’t turned their lights on yet because “it’s not dark yet.” Turn lights on the moment you leave in the late afternoon, not when it visibly gets dark.
Rain adds two problems: water on a windshield distorts light and blurs edges, and wet roads throw glare back at drivers, making a dim reflector nearly invisible. This is where a steady, brighter front light earns its keep over a dim blinking one, and where reflective material genuinely outperforms fluorescent clothing, since fluorescence needs strong ambient light that rain and overcast skies simply remove.
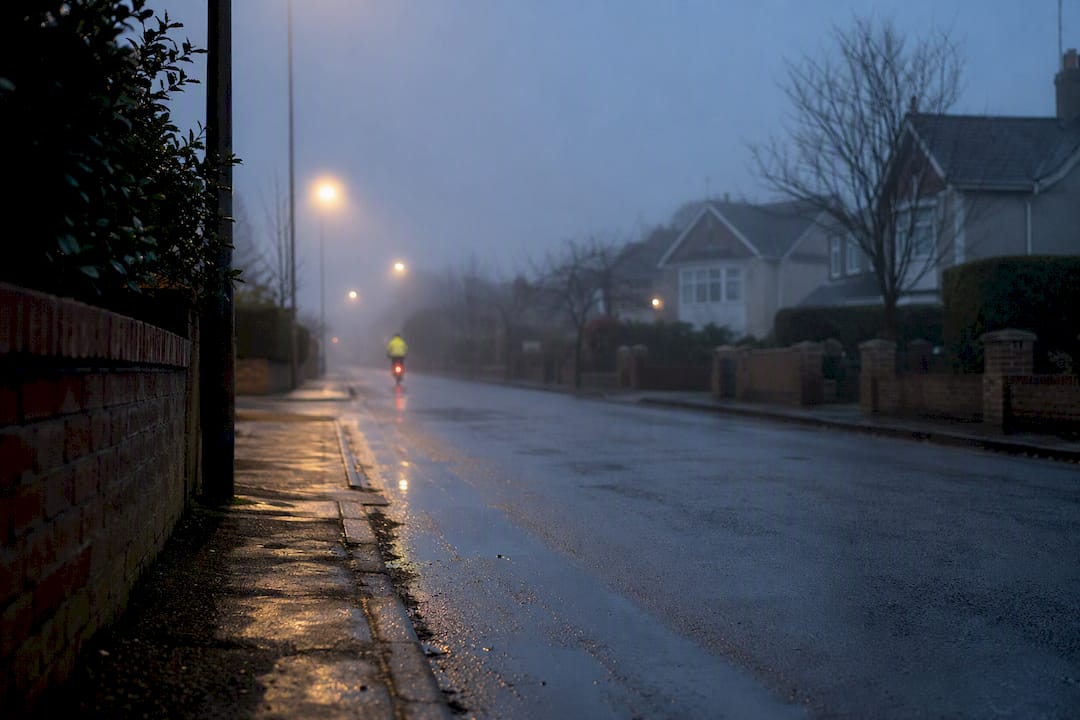
Fog is the hardest condition of all, because it scatters light in every direction rather than letting it travel in a beam. A single point-source light can actually get lost in fog. Layering matters more here than anywhere else: a front light, a rear light, reflective strips, and a light-colored jacket all working together give a driver multiple chances to spot a child instead of relying on one signal cutting through the haze.
The practical rule for parents: check the sky before the ride, not just the clock. An overcast 4 p.m. in November can be darker and more dangerous than a clear evening at 6 p.m., and gear that’s “good enough” on a sunny commute often isn’t on a wet one.
Does Bike Color Actually Matter for a Child’s Safety?
Yes, though it matters less than lights and reflectors, since paint alone doesn’t reflect light back at a headlight the way retroreflective material does. Still, base color sets the floor for how visible a bike is in daylight and twilight before any accessory gets added.
Bright, saturated colors, hi-vis yellow, orange, and white, stand out far better against gray pavement, green hedgerows, and dark asphalt than black, navy, or forest green frames, which are common on adult bikes but a poor choice for a child’s first bicycle. If you’re buying new, pick a bright frame color over a “cool” dark one; if the bike is already dark, compensate with frame-mounted reflectors and a reflective wrap on the top tube or fork.
Beyond paint, a few add-ons meaningfully boost a bike’s visual footprint:
- Reflective rim tape or spoke reflectors, which light up the wheel’s rotation from the side.
- A brightly colored helmet, since head height puts it directly in a driver’s line of sight.
- A safety flag on a flexible pole, which increases the bike’s perceived width and tends to make drivers give more passing clearance, especially useful for smaller children or bikes towing a trailer.
- Frame-mounted reflectors like The Beam’s FRAME FLASH that add retroreflective surface area without changing how the bike looks day to day.
None of these replace the helmet-and-lights baseline. They add a margin on top of it, and margin is exactly what you want when a driver only has a fraction of a second to register a small cyclist.
Do LED Wearables and Safety Apps Actually Help?
Wearable LED gear, light-up shoe clips, LED armbands, helmet-mounted lights, adds a second layer of active visibility beyond the bike itself, and it’s genuinely useful because it moves with the child’s body. A blinking ankle light catches a driver’s eye through pedaling motion in a way a static frame light can’t replicate, since motion draws the eye faster than a fixed point of light.
Safety and tracking apps solve a different problem: they don’t make a child more visible to drivers, they make a child more locatable to parents. GPS check-ins and route sharing are worth using for peace of mind on solo school commutes, but don’t confuse them with visibility gear. An app on a phone in a backpack does nothing for the driver approaching from behind at dusk.
The most useful tech additions are the simplest: a rechargeable LED light with a genuinely bright lumen output, a wearable blinker clipped to a backpack strap, and spoke lights that trigger automatically when the wheel spins. Skip anything that requires a smartphone connection to function as a light source. Batteries die and phones get left behind, but a standalone light clipped to a helmet works every single time you press the button.
Why Adult Supervision Still Matters Most
Gear only closes part of the safety gap. A seven-year-old with a helmet, two lights, and a reflective vest still lacks the judgment to reliably predict a car’s speed at an intersection, and that judgment develops through supervised practice, not through equipment alone.
Ride the actual route with your child repeatedly before granting independence, watching specifically for the moments they hesitate or guess wrong, a fast right turn, a driveway with poor sightlines, a crossing without a signal. Those are the spots that need either a route change or more practice, not just better lights.
Supervision also means modeling the behavior you want copied. A parent who runs a stop sign or rides without a helmet undercuts every rule just taught, since children copy what they see far more reliably than what they’re told. Choosing genuinely safer environments, quiet streets over arterial roads, protected bike lanes over painted ones, and daylight commute windows when a schedule allows it, reduces exposure to risk in ways no amount of gear can fully offset.
What Parents Get Wrong About Visibility Gear
The instinct to buy the brightest, most feature-packed light on the shelf is understandable, but it’s not where the real risk sits. The bigger failure I see in how this topic gets discussed is treating visibility as a shopping problem instead of a habit problem. A $40 light left uncharged in a drawer does less than a $10 reflector actually worn every day.
Conventional advice tends to stop at “buy lights,” which skips the harder part: mounting gear where a child’s body won’t block it, building a charging routine that survives a busy school week, and teaching the riding behavior that makes visibility gear worth having in the first place. Equipment and behavior aren’t separate boxes to check. They only work together.
If there’s one thing to prioritize first, it’s fit and placement over feature count. A correctly mounted rear light and a helmet that actually sits level beat a pile of gadgets bought once and never adjusted again.
— Sophie
The Beam’s Reflectors Solve the Placement Problem Parents Miss
Most of the visibility gaps covered above come down to one thing: reflectors and lights mounted somewhere they get blocked, forgotten, or fall off after a few rides. The Beam’s FRAME FLASH reflectors are built to solve exactly that.

They mount directly to the frame’s rear triangle or fork with a low-profile clip, so a child’s body or backpack never blocks them the way a seatpost-mounted accessory often does. The reflective material meets the CE compliance standard covered earlier, they hold up to rain and daily handling, and the minimalist design means kids don’t fight you about wearing them. That last part matters more than any spec sheet: gear a child actually keeps on the bike beats gear that’s technically superior but gets left in a drawer.
Before you buy anything, double check your child’s helmet fit and confirm the current mandatory equipment rules for your situation. Once that’s settled, browse The Beam’s FRAME FLASH reflectors to close the gap the checklist above just walked through.
Where to Verify the Rules and Research
- Service-Public: mandatory bike equipment — helmet and lighting rules, penalties.
- Sécurité Routière: cyclist visibility guidance — active and passive visibility advice.
- Child cyclist visibility study, 2023 — detection distance research.
- DGCCRF: CE marking explained — what compliance actually certifies.
Sources
- Équipements obligatoires à vélo
- Être visible à vélo | Sécurité Routière
- Child safety on bicycle seats and visibility-related study (2023)
- Economie


