

TL;DR:
- Layered visibility solutions like helmet-integrated systems, active lights, and dynamic reflectors offer more safety than any single device for U.S. cyclists. Practiced shoulder checks and deliberate lane positioning remain the most reliable methods for real-time awareness. Proper use of passive reflectors and helmet-mounted gear also reduces theft risk and improves night visibility.
For most U.S. cyclists, the most practical alternatives to rear-view mirrors and dashcams are helmet-integrated visibility systems, high-intensity active lights, dynamic reflectors, and optional radar/alert sensors — layered with practiced shoulder checks and deliberate lane positioning. That combination covers more ground than any single device, costs less than a dashcam setup, and works across commuting, road, gravel, and e-bike riding.
The CPSC’s reflector requirements set the legal floor for any bicycle sold in the U.S.: white front, red rear, and side/pedal reflectors for passive visibility from all directions. Active lights and layered awareness are the strongly recommended supplement above that floor.
Who this setup fits best:
- Urban commuters who lock up their bikes and can’t leave handlebar-mounted gear exposed
- E-bike riders at assisted speeds where closing distances are tighter
- Road and gravel riders who want situational awareness without a screen to manage
- Multi-modal riders who switch between bikes and need gear that travels with them
Table of Contents
- What are the best alternatives to rear-view mirrors and dashcams?
- How do you choose the right visibility alternative for your riding style?
- Skills and habits that do more than any device
- What does each alternative cost, and how do you maintain it?
- Which setup is right for your riding style?
- Key Takeaways
- Why helmet visibility and active lights come first
- THE BEAM products that match these recommended setups
- Useful sources for further reading
What are the best alternatives to rear-view mirrors and dashcams?
| Category | Rear Awareness | Day/Night | Field of View | Ease of Use | Price Band | Compatibility | Maintenance/Theft Risk | CPSC Notes |
|---|---|---|---|---|---|---|---|---|
| Helmet-integrated visibility (THE BEAM VIRGO + add-ons) | High | Excellent both | Wide, rider-centered | Very high — travels with you | Mid–Premium ($150–$400+) | All helmets; e-bike ready | Low theft risk; helmet-mounted | Active lights exceed CPSC minimum |
| High-intensity lights (front white / rear red blink) | High (rear) | Night-optimized | Narrow cone, rear-facing | High — clip or mount | Budget–Mid ($20–$80) | Universal bar/seat post | Charge cycles; theft risk if left on bike | Active supplement to CPSC reflectors |
| Dynamic/moving reflectors (FRAME FLASH + wearable) | Moderate | Night-focused | 360° when placed at joints | Very high — no charging | Budget ($15–$40) | Frame, ankle, wrist | Minimal; wipe clean | Meets/exceeds CPSC passive requirement |
| Radar/alert sensors | Very high | Day and night | Long-range rear detection | Moderate — requires head unit | Premium ($100–$200+) | Handlebar computers; e-bike | Firmware updates; theft risk | No CPSC role; supplemental only |
| Wearable turn/brake indicators | Moderate | Day and night | Rear-facing signal | Moderate — vest/arm mount | Mid ($40–$100) | Vest, arm band | Wash/charge cycles | Supplemental; no CPSC role |
| Mirror sunglasses | Low–Moderate | Day only | Narrow, angle-dependent | High — wear and go | Budget–Mid ($20–$80) | Universal | Lens care; no theft risk | No CPSC role |
Helmet-integrated visibility (THE BEAM VIRGO + helmet add-ons)
- Pros: stays with the rider, reduces theft exposure, MIPS protection built in, compatible with rear lighting add-ons
- Cons: higher upfront cost, helmet fit must be confirmed before buying accessories
Dynamic reflectors (FRAME FLASH)
Moving reflectives placed at joints create a biokinetic motion signal that draws driver attention more reliably at night than static frame reflectors. The FRAME FLASH clips to your frame or ankle and requires zero charging.
- Pros: no battery, lightweight, works on any bike, strong night-time signal
- Cons: passive only — no active warning, no rear-awareness feedback to the rider
Radar/alert sensors
Radar units detect approaching vehicles at longer ranges and deliver audible or visual alerts when paired with a head unit. They shine on open rural roads and fast e-bike commutes.
- Pros: early warning, objective distance data, pairs with GPS computers
- Cons: false positives in dense urban traffic, expensive, adds screen management
How do you choose the right visibility alternative for your riding style?
Start with your riding environment and typical speed. Urban stop-and-go traffic calls for different gear than a 25 mph e-bike commute on a protected lane.
Buyer checklist:
- Where do you ride most? Urban streets, bike paths, rural roads, or mixed?
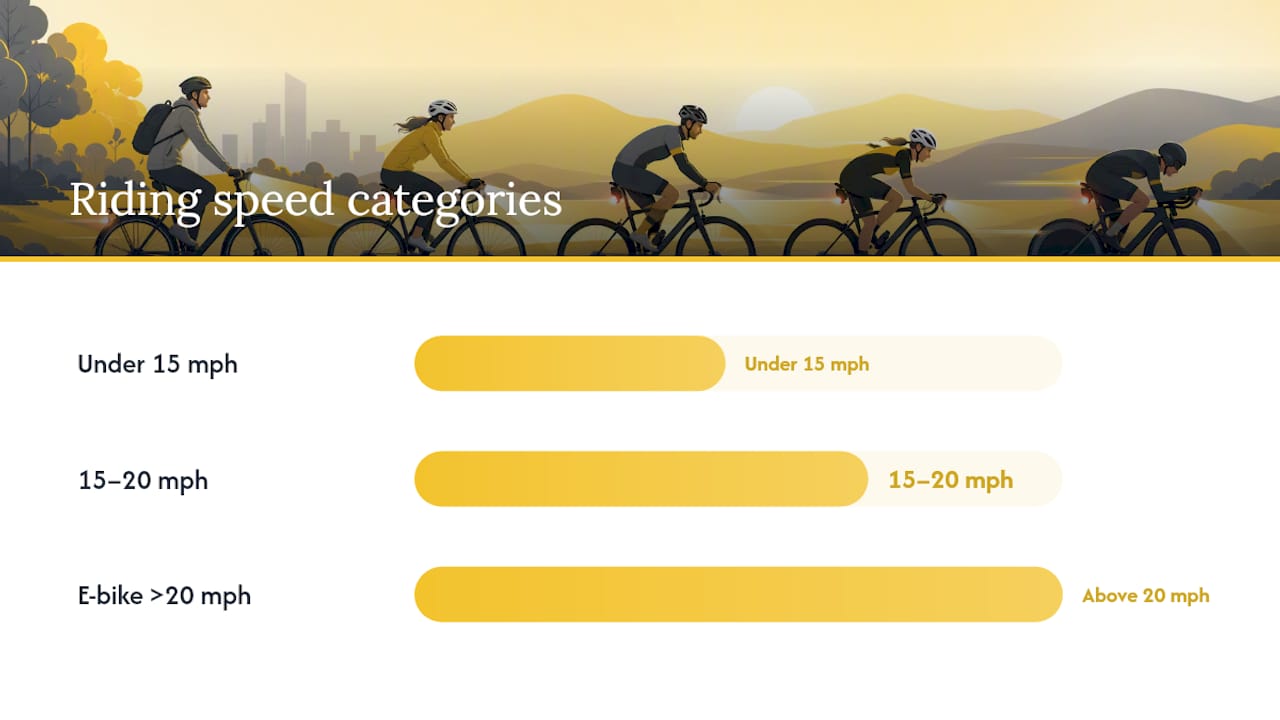
- What speed range? Under 15 mph, 15–20 mph, or e-bike-assisted above 20 mph?
- Day-only, night-only, or both? Night riding demands active lights and reflectives regardless of other choices.
- What helmet do you own? Check mount compatibility before buying add-ons.
- Do you lock up your bike in public? If yes, prioritize helmet-mounted or wearable gear over handlebar-mounted devices.
- What’s your budget ceiling? Reflectors first, then active lights, then radar if budget allows.
- Do you already use a GPS head unit? Radar sensors integrate cleanly if you do.
- Are you riding an e-bike? Higher speeds compress reaction time — radar or a rear blink light at high lumen output is worth the investment.
Questions to ask before buying:
- What is the IP rating? (IP65 minimum for rain resistance)
- What is the battery runtime at full brightness?
- Does the mount fit a 31.8mm or 35mm handlebar, or is it helmet-specific?
- Does the product meet CPSC reflector equivalence, or is it active-only?
- Is firmware or app support available, and for how long?
- What is the warranty period and return policy?
Red flags: no weatherproofing spec listed, no mount diameter stated, any marketing that claims a single device “replaces” shoulder checks, and warranties under 12 months on electronics.
Skills and habits that do more than any device
Devices are supplemental. Practiced riding skills are the primary safety layer, and CyclingSavvy’s guidance makes this explicit: mirrors reduce head-turn time but still require a shoulder check in heavy traffic because they cannot show passing clearance or absolute spatial context beside the rider.
Shoulder-check drill (build this before relying on any device):
- Find a quiet parking lot or empty road.
- Ride at a comfortable pace, both hands relaxed on the bars.
- Rotate your torso to the left or right — let your head follow the torso, not the other way around.
- Keep your arms relaxed. A tense arm will steer the bike toward your look direction.
- Practice until the bike tracks straight during the check. Ten minutes of deliberate repetition is enough for most riders.
- Gradually move to low-traffic streets, then live traffic.
Lane positioning and predictability
CyclingSavvy principles teach that owning the lane — riding far enough from the curb to be seen and to prevent unsafe passes — projects intent to drivers and reduces conflict. Pair that position with a rear blink light and FRAME FLASH reflectors and you’ve created a visibility envelope that works even when you’re not looking back.
Ear awareness
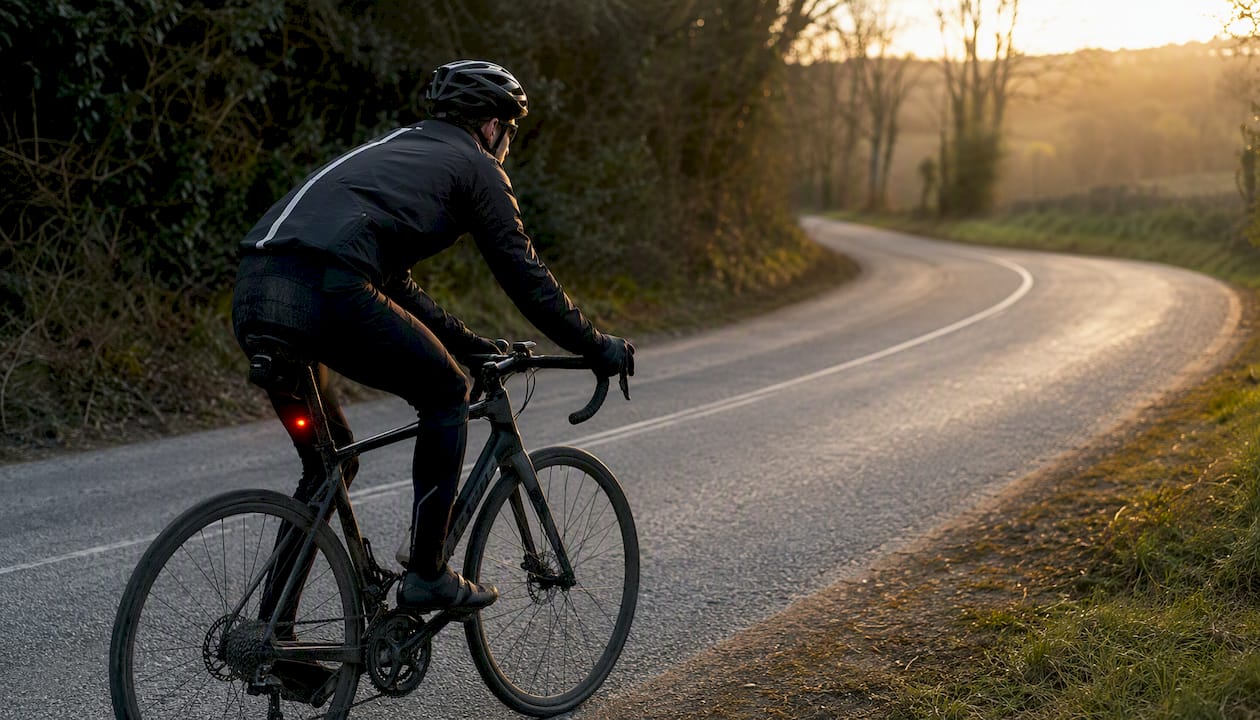
Keep at least one ear open at all times. Bone-conduction headphones are the practical solution if you want audio — they sit outside the ear canal and leave traffic sounds audible. Noise-canceling earbuds in both ears are a hard no.
Pro Tip: Set a glance cadence: every 5–7 seconds, scan mirrors or do a quick torso rotation. Treat it like breathing — automatic, not reactive. Riders who wait until they hear something have already lost the early-warning window.
Reading the road ahead also matters: scanning for parked car doors, judging closure rates on merging traffic, and using lane position to extend sightlines into junctions reduces your dependence on rear-facing devices entirely.
What does each alternative cost, and how do you maintain it?
Typical price ranges by category:
- Reflectors (FRAME FLASH, ankle/wrist wearables): budget-friendly range. No charging, wipe clean with a damp cloth, replace if cracked.
- Active rear lights: budget to mid price range. Charge via USB periodically depending on mode. Check mount clamp for corrosion after wet rides.
- Helmet-integrated systems (VIRGO + add-ons): $150–$400+. Mid to premium. Inspect MIPS liner annually, check add-on mount points for play, store out of direct sunlight.
- Radar/alert sensors: premium price range. Update firmware seasonally, check antenna housing for moisture ingress, pair with a compatible head unit.
- Wearable indicators: $40–$100. Mid. Wash vest components per label, charge arm units weekly if used daily.
Installing reflectors and helmet add-ons correctly matters as much as buying them. Align rear reflectors perpendicular to the road surface. For helmet add-ons, confirm the mount rail is fully seated before every ride. Handlebar mounts should be torqued to the manufacturer spec — finger-tight is not enough on rough pavement.
Theft deterrence: helmet-mounted and wearable gear travels with you. Handlebar-mounted radar units and lights should be removed when locking up in public. Helmet-mounted options are the practical default for multi-bike commuters who can’t always monitor their parked bike.
CPSC reflectors satisfy the legal minimum. Active lights and layered awareness are the strongly recommended supplement above that floor.
Which setup is right for your riding style?
Urban commuter
Core recommendation: VIRGO helmet + rear blink light (100+ lumens) + FRAME FLASH reflectors
- VIRGO integral helmet with MIPS for full-face protection on city streets
- High-intensity rear blink light mounted to seat post
- FRAME FLASH on the frame or ankle for biokinetic night visibility
- Mirror sunglasses as a low-cost daytime add-on if budget allows
- Buy first if budget is tight: FRAME FLASH reflectors, then a rear blink light
Urban/utility rider (cargo, e-bike, family)
Core recommendation: VIRGO or open-face helmet + high-lumen rear light + FRAME FLASH + wearable indicator vest
- Rear light at 150+ lumens for faster road speeds
- FRAME FLASH on both ankles for maximum motion signal
- Wearable turn indicator vest for signaling in dense traffic
- Radar sensor optional but worthwhile above 20 mph assisted speed
Road/gravel rider
Core recommendation: Aero-compatible helmet + radar/alert sensor + rear blink light + FRAME FLASH
- Radar sensor pairs with a GPS head unit for early vehicle warnings on open roads
- High-lumen rear light for tunnel and low-light sections
- FRAME FLASH on the frame for passive coverage when the light is off
- Mirror sunglasses are a reasonable fallback on long solo rides
E-bike/fast commuter
Core recommendation: VIRGO helmet + radar sensor + high-lumen rear light + FRAME FLASH
- At assisted speeds above 20 mph, radar’s early-warning window is genuinely useful
- VIRGO’s full-face protection matches the higher-consequence crash profile of e-bike speeds
- High-visibility gear layered across helmet, frame, and ankles creates a visibility envelope drivers notice well before they’re close
- Buy first if budget is tight: VIRGO helmet, then rear blink light
Key Takeaways
Layered visibility — helmet-integrated protection, active lights, dynamic reflectors, and practiced shoulder checks — is more reliable than any single rear-view device for U.S. cyclists.
| Point | Details |
|---|---|
| CPSC reflectors are the legal floor | White front, red rear, and side reflectors are required on new U.S. bicycles; active lights go above that minimum. |
| Helmet-integrated gear reduces theft risk | Helmet-mounted and wearable options travel with you, unlike handlebar-mounted devices left on a locked bike. |
| Skills beat devices as the primary layer | Practiced shoulder checks and lane positioning are more reliable than any mirror or sensor for real-time awareness. |
| Dynamic reflectors outperform static ones at night | Moving reflectives at joints (ankles, wrists) create a biokinetic signal drivers notice earlier than frame-only reflectors. |
| Thebeamofficial covers the full recommended stack | The VIRGO helmet, FRAME FLASH reflectors, and helmet add-ons map directly to the commuter, urban, and e-bike setups above. |
Why helmet visibility and active lights come first
Most articles about cycling visibility lead with the gadget. The more honest framing is that the gadget is the last layer, not the first.
Mirrors and dashcams have real value — a mirror speeds up a glance, and a camera captures evidence after an incident. But neither tells you what a driver is about to do, and neither replaces the spatial awareness you build through a proper shoulder check and deliberate lane positioning. The riders who get into trouble with tech are usually the ones who stopped looking because they assumed the device was looking for them.
At Thebeamofficial, the product strategy reflects that order of priority. The VIRGO helmet with MIPS puts protection first. FRAME FLASH reflectors add passive visibility that works even when a battery dies. Helmet add-ons and lighting accessories layer active signals on top. That stack isn’t arbitrary — it mirrors how experienced commuters actually build their safety setup: passive first, active second, awareness skills underneath all of it.
Dashcam-style systems still make sense for specific use cases. Cameras optimized for legal evidence capture are worth considering for riders who regularly navigate high-conflict routes. But for everyday situational awareness, they add complexity without proportional safety gain.
THE BEAM products that match these recommended setups
The setups above map cleanly to what Thebeamofficial sells. The VIRGO integral helmet with MIPS is the anchor for commuter and e-bike configurations. FRAME FLASH reflectors handle passive night visibility on any bike without a battery. Helmet add-ons and lighting accessories round out the active layer.

Browse the full accessories collection to find compatible rear lights, reflectors, and helmet add-ons that work with your current setup. Every product ships to the U.S. directly from Thebeamofficial’s e-commerce store, with no intermediary markup.
Useful sources for further reading
- NHTSA — Bicycle Safety Tips for Kids and Adults
- CyclingSavvy — Do Look Back (mirror and shoulder-check guidance)
- Bicycling — Best bike visibility gear
- Road.cc — Best reflective cycling clothing and accessories
- MoreBikes — How to read the road


