

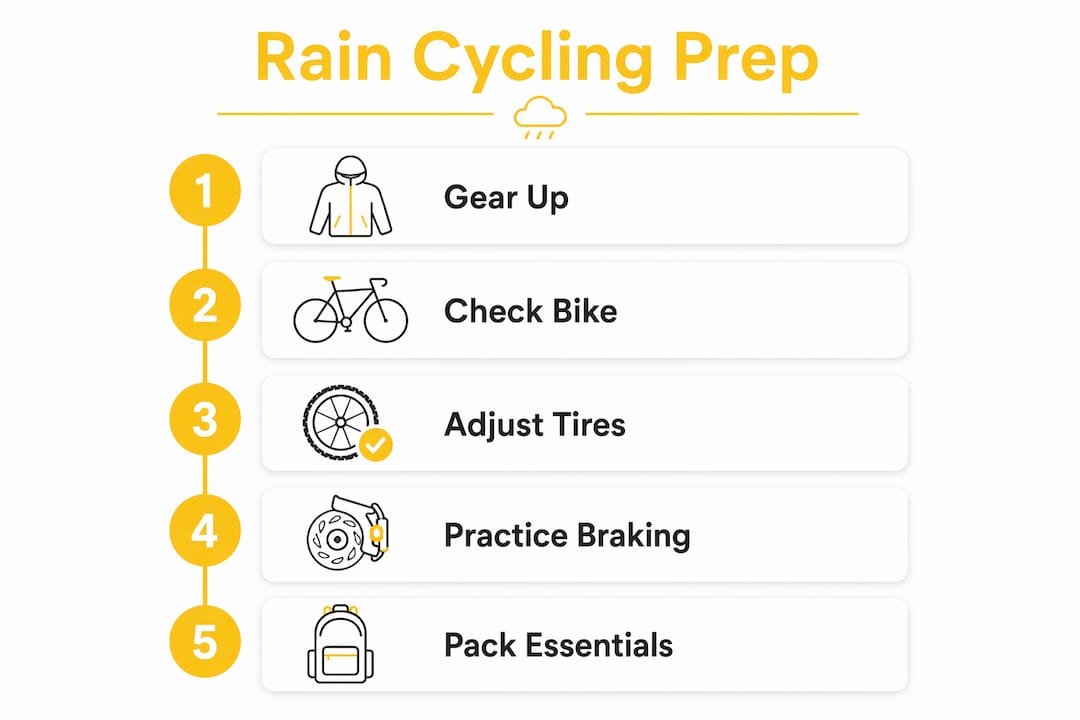
Yes, you can ride in the rain — and with the right prep, it’s genuinely fine. The riders who dread wet weather are usually the ones who skipped a few key steps before leaving the house. Here’s what to do before you roll out:
- Check your lights. Front white, rear red — both on and charged.
- Fit mudguards or fenders if your bike takes them. Even clip-ons make a real difference.
- Drop tire pressure moderately to widen the contact patch on slick roads.
- Set lights to flashing mode for better visibility through rain-streaked windshields.
- Layer up: waterproof shell over a moisture-wicking base layer, waterproof gloves, overshoes.
- Pack a puncture kit and a dry-change bag. Wet roads mean more debris.
Skip the ride when: visibility drops to near-zero (whiteout conditions), standing floodwater covers the road, or wind is strong enough to push you into traffic. Everything else is manageable with preparation.
Table of Contents
- What should you wear for cycling in wet weather?
- How do you prepare your bike for riding in the rain?
- How should you adjust tire pressure and braking for wet roads?
- Which road hazards are most dangerous when it’s wet?
- How do you fix a puncture on the road in wet conditions?
- What should you pack and how do you care for the bike after a wet ride?
- How do you set up lights and reflectors for a rainy ride?
- What does the research say about wet-weather cycling adjustments?
- Your pre-ride checklist for a rainy day
- Key Takeaways
- The part most guides skip: mindset and warm-up in the cold
- Gear up for rainy rides with Thebeamofficial
- Sources and further reading
What should you wear for cycling in wet weather?
Getting the clothing right is where most beginners go wrong. They either overdress in a non-breathable shell and arrive soaked in sweat, or they underdress and get cold within ten minutes.
The core clothing list:
- Waterproof jacket with a breathable membrane and underarm vents. A jacket rated above 10,000 g breathability (the standard measure for moisture vapor transmission) keeps rain out without turning into a sauna. Cycling Weekly’s jacket group tests found that experienced riders consistently prioritize vented or high-breathability membranes over pure waterproofing.
- Waterproof overtrousers or rain tights to protect your legs and keep warmth in.
- Moisture-wicking base layer in merino wool or synthetic. Cotton holds water against your skin and chills you fast.
- Waterproof gloves. Cold, numb hands slow your braking reaction time.
- Overshoes or waterproof socks. Waterproof overshoes significantly cut foot wetness versus ordinary socks; neoprene overshoes are the budget-friendly option.
Visibility clothing matters too. Hi-viz yellow or orange is the obvious choice, but even adding reflective strips to your jacket sleeves or helmet cover helps drivers spot you earlier. A helmet cover with reflective panels doubles as rain protection and a visibility upgrade.
Protecting your valuables:
Use a roll-top pannier or dry bag for anything that can’t get wet. A waterproof phone case or a small zip-lock bag for cards and keys costs almost nothing and saves a lot of frustration. Keep your phone in a handlebar mount with a waterproof case so you can still navigate without stopping.
Pro Tip: A thin waterproof cap worn under your helmet keeps rain from dripping into your eyes and prevents rapid heat loss from your head — the head is a major site of heat loss on cold, wet rides. Choose one with a short bill to deflect rain off your glasses or sunglasses.
How do you prepare your bike for riding in the rain?
A few targeted upgrades and a quick five-point check before you leave will keep the bike running and keep you safer.
Mudguards
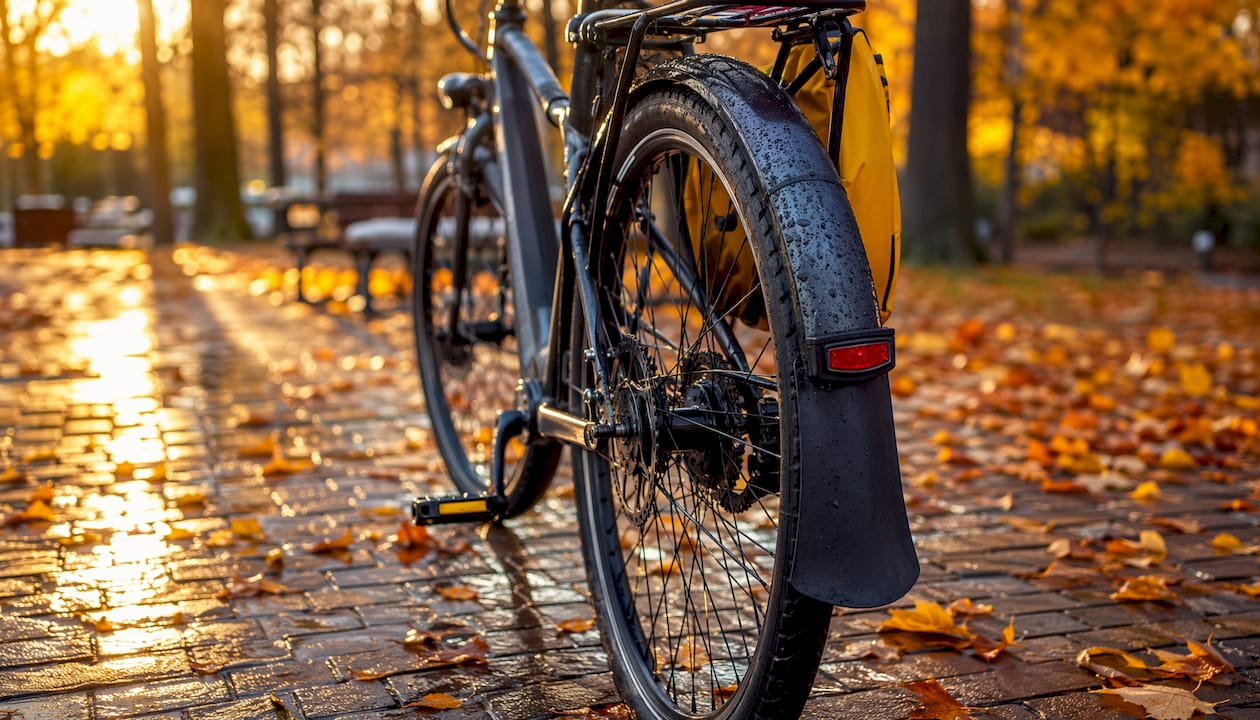
Full-coverage mudguards are the single most effective upgrade for wet riding. A front guard with a low-reaching mudflap stops grit from hitting your feet and the drivetrain; a full rear guard keeps spray off your back and the bottom bracket area. If your bike doesn’t have mounting points, clip-on alternatives work reasonably well for commuting.
Lights
Mount a white front light and a red rear light. The Portland Bureau of Transportation recommends a front light visible for 500 feet and a rear light visible for 600 feet. Set both to flashing mode in rain — it catches attention better through a wet windshield than a steady beam. Mount lights high enough to clear road spray, and check that the angle isn’t pointing straight at the ground.
Brakes
Squeeze both levers before you leave. Rim brakes lose stopping power when wet; give the pads a few firm taps at the start of the ride to clear water and grit. Disc brakes perform more consistently in wet conditions but still need more stopping distance than in dry weather. Check pad wear and look for any contamination on rotor surfaces.
Drivetrain
Wipe the chain with a dry rag, then apply a wet-specific chain lube. Wet lube is thicker and resists washing off. If you ride an e-bike, check that connectors and the battery housing are sealed — for a full breakdown of e-bike wet-weather prep, see riding an e-bike in the rain.
Five-point pre-ride check
| Check | What to look for |
|---|---|
| Fender fit | Secure, no rubbing on tire, mudflap reaches low |
| Lights | Both on, charged, correct angle |
| Brakes | Firm feel, pads not worn, rotors clean |
| Drivetrain | Chain wiped, wet lube applied |
| Tires | No visible cuts, pressure adjusted |
How should you adjust tire pressure and braking for wet roads?
Tire pressure
Reducing tire pressure by 5–10 psi widens the contact patch between tire and road, which improves grip on wet surfaces. The trade-off is a slightly higher risk of pinch flats if you hit a sharp edge, so don’t go below the minimum pressure printed on the tire sidewall. For riders already on wider tires (32mm or above), the lower end of that range is usually fine.
Wider tires are worth considering if you ride in wet conditions regularly. Wider tires allow lower pressures and a larger contact patch, which improves traction and reduces puncture risk from debris on wet roads. For e-bike riders, tire choice matters even more given the added weight — a guide on e-bike tire selection covers the specific considerations in detail.
Braking technique
Wet roads increase stopping distances significantly. Start braking earlier, use both brakes together with smooth, progressive pressure, and avoid any sudden steering input while you’re still decelerating. If you have rim brakes, a quick tap before you actually need to stop clears water and grit from the pads and gives you more reliable bite.
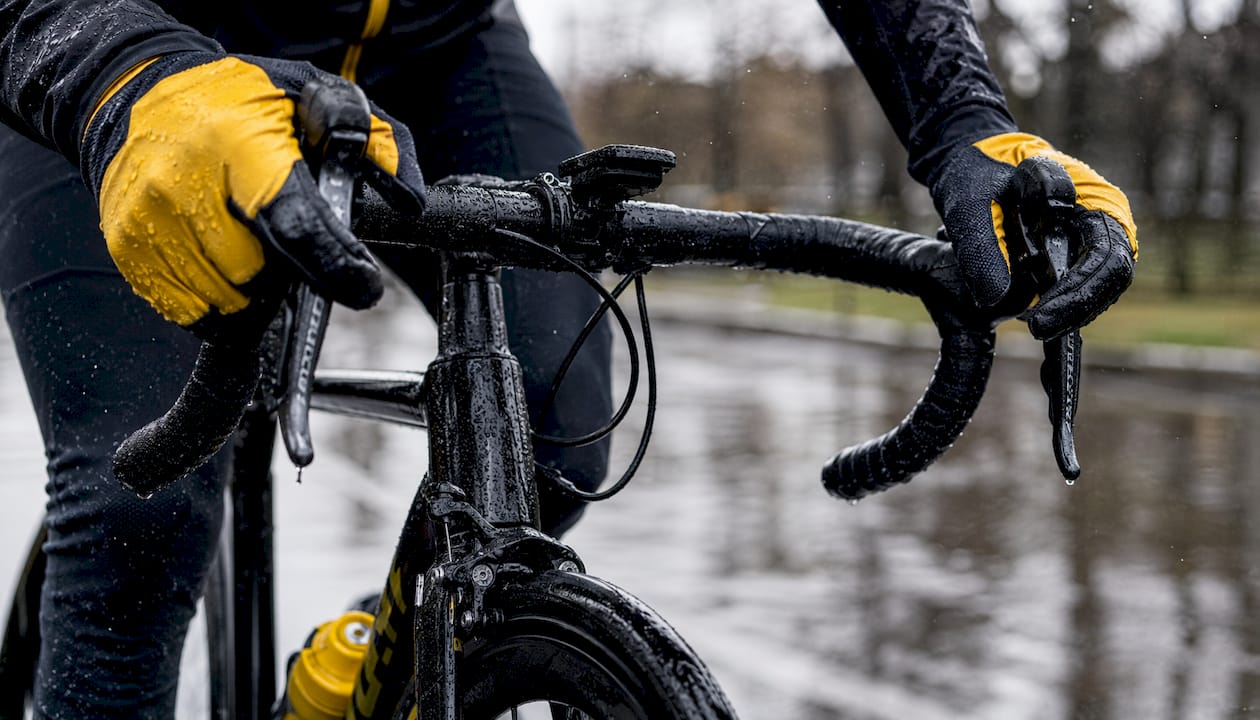
Pro Tip: At the very start of your ride, find a quiet stretch and do a slow braking test. Squeeze both brakes from about 10 mph and feel how the bike actually responds on that day’s roads. Wet asphalt, wet leaves, and fresh rain after a dry spell all feel different — this 30-second test tells you what you’re working with.
Which road hazards are most dangerous when it’s wet?
Rain doesn’t just make the road slippery — it makes specific surfaces dramatically more dangerous. Knowing which ones to avoid (and how to cross the ones you can’t) is the difference between a confident wet ride and a crash.
The hazard list:
- Painted road markings (crosswalk lines, lane markings, bike lane symbols): these become nearly frictionless when wet.
- Metal surfaces: manhole covers, drain grates, bridge expansion joints, and steel plates all have near-zero grip in rain.
- Wet leaves: a thin layer of wet leaves behaves like ice. Avoid entirely when possible.
- Fresh oil sheen: the first significant rain after a dry spell brings oils and road grime to the surface, making roads extra slippery for the first 20–30 minutes.
- Puddles: they can hide potholes and debris. If you must ride through one, stand slightly off the saddle and pedal steadily.
- Tram and rail tracks: cross at as close to 90 degrees as possible. Crossing at a shallow angle lets the tire slip into the groove.
The key principle is simple: complete any braking or steering adjustment before you reach the hazard, not while you’re on it. Painted lines and metal grates are fine to roll straight over at low speed — the problem is when you’re also turning or braking on them. For more on urban cycling hazards, the same principles apply to everyday city riding.
How do you fix a puncture on the road in wet conditions?
Wet roads mean more debris, and more debris means more punctures. Carry the right kit and know the steps before you need them.
Minimum puncture kit (keep it in a waterproof pouch):
- Spare inner tube (correct size for your tire)
- Two tire levers
- Mini-pump or a CO2 inflator
- Patch kit as backup
- Small multitool
- Dry rag
How to repair a puncture in the rain:
- Move off the road to a safe, flat spot.
- Remove the wheel (quick-release or thru-axle depending on your bike).
- Use tire levers to unseat one bead of the tire and remove the tube.
- Run your fingers inside the tire to find what caused the puncture — remove it before fitting a new tube.
- Use the dry rag to wipe the inside of the tire and the rim bed.
- Fit the new tube, starting at the valve. Seat the tire bead back by hand — avoid levers on the final bead if possible to avoid pinching the new tube.
- Inflate to a rideable pressure (slightly lower than normal is fine to get home).
- Check the tire is seated evenly before riding.
Tubeless riders: carry a plug kit and a small bottle of sealant. Most small punctures seal themselves, but a plug handles larger cuts. Know how to reseat a bead with a CO2 if the tire burps.
When to call it: if the wheel is buckled, the axle is damaged, or the tire has a sidewall tear too large to plug, stop riding and arrange a pickup. Riding on a compromised wheel risks a crash.
What should you pack and how do you care for the bike after a wet ride?
What to bring
Pack a dry-change bag with: dry socks, a spare base layer, a small towel, and a zip-lock bag for wet clothes. Leave a dry towel at work if you commute. A small towel in the pannier also lets you wipe the bike down quickly on arrival.
Post-ride bike care
After a wet ride, the chain collects a slurry of grit, water, and old lube that accelerates wear if left overnight. Here’s the five-minute routine:
- Rinse the frame and drivetrain with low-pressure water (a bucket or gentle hose — not a pressure washer).
- Wipe the chain and cassette with a dry rag.
- Apply wet-weather chain lube and let it soak in.
- Dry the brake surfaces and check pads for embedded grit.
- Wipe cables and cable stops — water sits there and causes corrosion.
Electronics and batteries: if you brought a GPS unit, lights, or a phone, dry them before charging. Water inside a charging port can cause damage. Let them air-dry for 20–30 minutes first.
Store the bike in a ventilated spot, not sealed in a bag. Empty and wipe out panniers; leave them open to dry. Remove the saddle bag contents and let everything air out.
How do you set up lights and reflectors for a rainy ride?
Rain cuts visibility in both directions: you see less, and drivers see you less. Lights and reflectors close that gap.
Minimum setup:
- Front white light and rear red light, used even in daylight when it’s raining.
- Both set to flashing mode in rain — flashing catches attention better through a rain-streaked windshield than a steady beam.
- A helmet-mounted light adds a third angle of visibility, particularly useful at intersections where a driver is looking across your path rather than straight at you.
Mounting tips:
- Mount the rear light on the seatpost rather than the saddle bag if possible — it sits higher and stays cleaner.
- Angle the front light slightly downward to illuminate the road ahead without blinding oncoming riders.
- Check that neither light is blocked by a pannier or mudguard.
Reflectors:
Add reflective strips to your panniers, helmet, and jacket. The FRAME FLASH reflectors from Thebeamofficial mount directly to the frame and add passive visibility without any charging or batteries.
Pre-ride light check:
- Turn both lights on.
- Step back 100–200 feet and confirm both are visible.
- Check battery level or charge indicator.
- Confirm mounting is secure — vibration on rough roads can shift the angle.
What does the research say about wet-weather cycling adjustments?
The 5–10 psi tire pressure reduction isn’t just a rule of thumb — it has a mechanical basis. A lower-pressure tire deforms slightly under load, increasing the area of rubber in contact with the road. On a wet surface where the friction coefficient is already reduced, that wider contact patch meaningfully improves grip. The trade-off is a marginally softer ride and a slightly higher risk of pinch flats on sharp edges, which is why you stay within the tire manufacturer’s recommended range.
On braking: disc brakes outperform rim brakes in wet conditions because the rotor sits away from the wet tire surface, and the clamping force is more consistent regardless of rim contamination. That said, even disc brakes need more stopping distance in rain. Wet asphalt has a lower friction coefficient than dry, and no brake system fully compensates for that.
Jacket breathability ratings work on a simple principle: a membrane rated at 10,000 g or above allows more moisture vapor (sweat) to escape per square meter per 24 hours. Below that threshold, sweat builds up inside the jacket faster than it can escape, and you end up as wet from the inside as you would have been without the jacket. Experienced riders prioritize jackets with underarm vents and high-breathability membranes for exactly this reason.
Pro Tip: On visibility: flashing lights work because the human visual system is highly sensitive to movement and change. A steady light blends into background lighting; a flashing one triggers the same attention response as motion. In rain, when a driver’s windshield is covered in droplets, that flicker cuts through the visual noise more reliably than a constant beam.
| Adjustment | Recommendation | Why it helps |
|---|---|---|
| Tire pressure | Reduce by 5–10 psi | Wider contact patch, better grip |
| Front light visibility | Minimum 500 feet | Oregon standard for conspicuity |
| Rear light visibility | Minimum 600 feet | Ensures detection from behind in rain |
| Jacket breathability | Above 10,000 g membrane | Prevents sweat buildup inside shell |
| Braking distance | Start earlier, use both brakes | Wet roads extend stopping distance |
Your pre-ride checklist for a rainy day
Print this or screenshot it. Run through it before every wet ride.
Bike:
- [ ] Front white light on, charged, set to flashing
- [ ] Rear red light on, charged, set to flashing
- [ ] Tire pressure reduced by 5–10 psi
- [ ] Brakes checked — firm feel, pads not worn
- [ ] Fenders/mudguards fitted and secure
- [ ] Chain wiped and wet lube applied
- [ ] Tires checked for cuts or embedded debris
Kit:
- [ ] Waterproof jacket (breathable membrane)
- [ ] Waterproof overtrousers or rain tights
- [ ] Moisture-wicking base layer
- [ ] Waterproof gloves
- [ ] Overshoes or waterproof socks
- [ ] Under-helmet waterproof cap
- [ ] Dry-change bag packed (socks, base layer, towel)
- [ ] Puncture kit in waterproof pouch
- [ ] Phone in waterproof case
Ride or don’t:
- Ride: light rain, visible road, manageable wind.
- Don’t ride: near-zero visibility, standing floodwater on the road, wind strong enough to push you sideways.
For a broader daily commuter checklist, the same prep principles apply year-round.
Key Takeaways
Preparing for cycling in rain comes down to six actions: adjust tire pressure, check lights, fit mudguards, layer correctly, pack a puncture kit, and relube the chain after the ride.
| Point | Details |
|---|---|
| Tire pressure | Drop 5–10 psi before a wet ride to widen the contact patch and improve grip. |
| Lights and visibility | Use flashing front and rear lights in rain; minimum 500 feet front, 600 feet rear visibility. |
| Clothing system | Pair a breathable waterproof jacket (above 10,000 g membrane) with a moisture-wicking base layer. |
| Post-ride maintenance | Wipe the chain, apply wet lube, and dry brake surfaces after every wet ride to prevent corrosion. |
| Thebeamofficial VIRGO helmet | The VIRGO integral helmet with MIPS technology pairs with reflectors and helmet add-ons for full rainy-ride visibility. |
The part most guides skip: mindset and warm-up in the cold
Most rainy-ride articles stop at gear. Here’s what actually separates riders who enjoy wet weather from those who dread it.
The biggest barrier isn’t equipment — it’s the first five minutes. Cold, wet air hits you before your body temperature rises, and that discomfort triggers the instinct to turn around. The fix is simple: start slower than you think you need to. Spin an easy gear for the first five minutes, let your core temperature climb, and let your hands and feet warm up gradually. By the time you’ve covered a mile, the rain stops feeling like a problem and starts feeling like background noise.
Cold muscles are also less responsive, which matters for bike handling. A slow warm-up isn’t just comfort — it’s a genuine safety measure. The same applies at the end: if you’ve been riding hard in the cold, a few minutes of easy spinning before you stop prevents the sharp chill that comes from going from high output to standing still in wet kit.
The psychological side is real too. Riders who’ve done a wet ride and survived it — even a short one — lose most of their anxiety about rain. The anticipation is almost always worse than the ride itself. Start with a short loop, get the experience, and the next rainy commute feels routine.
Gear up for rainy rides with Thebeamofficial
Rain-capable head protection is one area where cutting corners costs you. The VIRGO integral helmet from Thebeamofficial is built with MIPS technology for real-world protection, and its full-face design keeps rain and spray off your face in a way that open-face helmets simply don’t. It’s designed for road, gravel, urban, and e-bike riders who want protection that holds up in any weather.

Beyond the helmet, Thebeamofficial’s visibility accessories — including the FRAME FLASH reflectors and helmet add-ons — give you passive and active visibility without adding bulk or battery management to your pre-ride routine. The reflectors mount directly to the frame and work in any conditions, no charging required.
If you’re gearing up for wet-weather riding, start with the helmets collection and add visibility accessories from there. Everything ships to the U.S. directly from Thebeamofficial’s e-commerce store.
Sources and further reading
- Portland Bureau of Transportation: Tips for biking in the wet, cold, and dark — practical U.S.-based guidance on lights, road hazards, and first-rain slickness. A solid starting point for commuters.
- BikeRadar: Road bike tyre pressure advice — covers the mechanics behind the 5–10 psi wet-weather adjustment and how to find your optimal pressure range.
- BikeRadar: Cycling in the rain buyer’s guide — detailed breakdown of mudguard types, tire selection, and wet-weather kit choices.
- Cycling Weekly: Group tests — cycling jackets for wet weather — real-world jacket testing with breathability and waterproofing ratings compared.
- Canyon: Cycling in the rain advice — covers post-ride maintenance, chain care, and under-helmet cap recommendations.
- ICEBIKE: Cycling in the rain — braking technique, surface hazards, and wet-road handling tips for all skill levels.
- road.cc: Survival tips for cycling in the rain — practical overshoe and waterproof sock comparisons, plus layering advice.


