

TL;DR:
- A well-organized cycling gear system reduces pre-ride time and prolongs equipment life. Implementing a 3-zone storage setup, categorizing gear, and maintaining routines help build muscle memory and consistency. Proper mobile packing through modular design and the inverted stack method ensures quick access during rides away from home.
A well-built cycling gear organization process is the systematic practice of storing, categorizing, and arranging all your cycling equipment so every item has a permanent home and every ride starts without friction. Most cyclists lose more time hunting for a misplaced multi-tool or a dead rear light than they spend on the ride itself. The fix is not buying more gear. It is building a system where muscle memory does the work. This guide covers the storage tools you need, how to zone your space, a step-by-step setup workflow, and how to carry that same logic into your panniers and bike bags.
What storage solutions work best for a cycling gear organization process?
The right storage setup is the foundation of any gear organization system. Without it, even the best categorization habits collapse within a week.
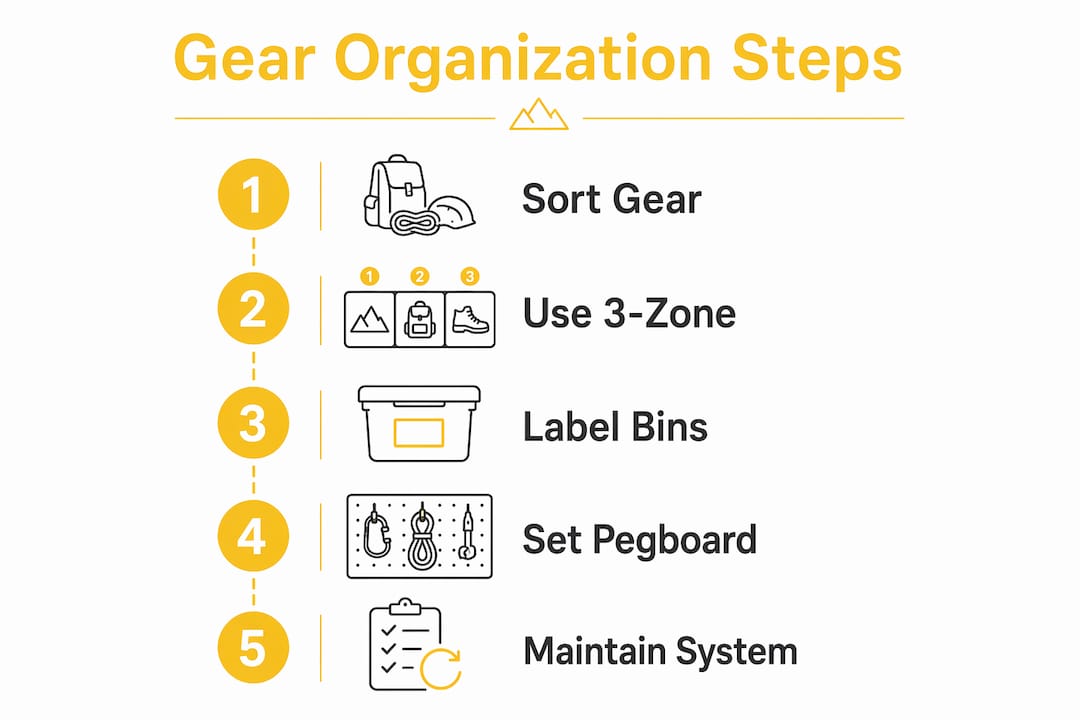
The 3-zone storage system is the most effective framework for home storage. Eye-level holds your most frequently used items: helmet, gloves, lights, and cycling shoes. Mid-level stores tools, lubricants, and cleaning supplies. Low-level handles infrequent items like spare tires, rain gear, and travel bags. This layout cuts retrieval time to near zero because your hands move to the right spot before your brain catches up.
Vertical wall space is the most underused asset in any cycling storage area. A pegboard mounted at eye level holds tools, pumps, and small accessories without consuming floor space. Wall-mounted bike hooks free up the floor entirely. In a small garage or apartment entryway, this combination creates a fully functional gear station in less than 10 square feet.
Labeled bins and clear containers belong at every level. Opaque bins slow you down because you cannot see the contents at a glance. Clear bins or open-front shelf containers let you confirm what is inside without touching anything.
| Storage solution | Best use case | Key advantage |
|---|---|---|
| Pegboard with hooks | Tools, pumps, small accessories | Fully visible, easy to reconfigure |
| Wall-mounted bike hook | Bike storage | Frees floor space entirely |
| Clear labeled bins | Apparel, spare parts, consumables | Instant visual confirmation |
| Vertical rack | Multiple bikes or wheels | Compact footprint for shared spaces |
| Shelf with zones | Helmets, shoes, lights | Supports the 3-zone access system |
Pro Tip: Mount your pegboard directly beneath your bike hook so tools and accessories sit within arm’s reach while you prep the bike. This single layout decision eliminates most back-and-forth movement during pre-ride setup.
How to categorize and arrange cycling gear for fast access
Sorting gear by use frequency is the most effective way to build the kind of muscle memory that makes pre-ride prep automatic. When every item lives in the same spot every time, your hands find it without conscious thought. That is the goal.
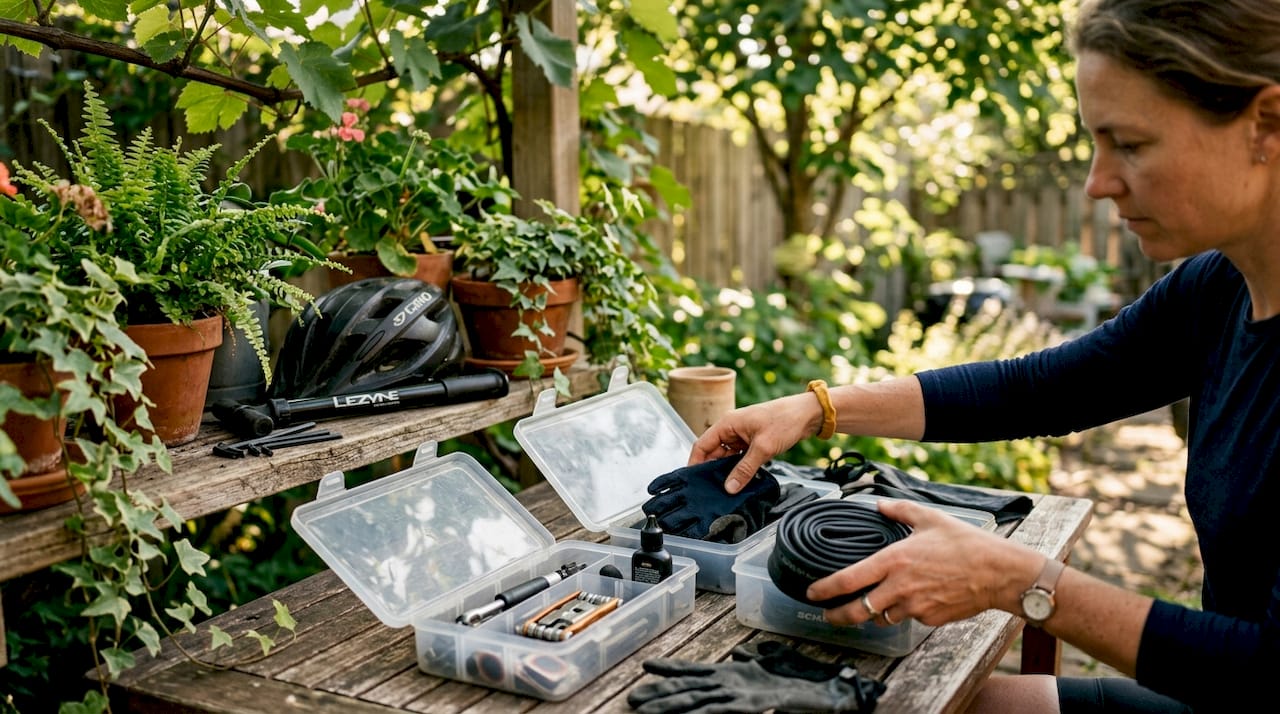
Start by doing a full inventory. Pull everything out, group it by function, and then rank each group by how often you use it. Gear you touch before every ride goes at eye level. Gear you use monthly goes lower or further back.
Assign each functional category its own zone:
- Lighting zone: Front and rear lights, spare batteries, and charging cables. Mount a small hook or tray at eye level near the door.
- Maintenance zone: Chain lube, degreasers, rags, tire levers, patch kits, and a multi-tool. Mid-level shelf or pegboard section.
- Security zone: Locks, cables, and mounting brackets. Mid-level, grouped together so you never leave without them.
- Apparel zone: Jerseys, bibs, gloves, arm warmers, and rain jackets. Hooks or a dedicated shelf, organized by season or ride type.
- Spare parts zone: Inner tubes, brake pads, cables, and derailleur hangers. Low-level bin, labeled clearly.
Labeling matters more than most cyclists expect. A label forces you to return an item to its correct spot, not just the nearest open surface. Use a label maker or even masking tape with a marker. The method does not matter. The consistency does.
Pro Tip: Build a grab-and-go kit for your most common ride type. A small bag or tray pre-loaded with your lights, multi-tool, tire levers, a tube, and a CO2 inflator means you can be out the door in under two minutes. Refresh it after every ride.
Step-by-step process to set up and maintain your gear system
A solid bike accessory maintenance workflow starts with a one-time setup and then runs on weekly and monthly habits. The setup takes a few hours. The maintenance takes minutes.
Initial setup steps
- Clear the entire storage area completely.
- Group all gear into functional categories on the floor.
- Rank each category by use frequency.
- Assign zones: eye-level for daily items, mid-level for tools, low-level for infrequent gear.
- Install pegboards, hooks, shelves, or bins as needed.
- Place each category in its assigned zone.
- Label every bin, hook, and shelf.
- Do a test run: simulate your pre-ride routine and adjust anything that feels awkward.
Weekly and monthly maintenance workflow
Routine chain cleaning and tire checks are tasks every cyclist can handle at home. Complex work like wheel truing or hydraulic brake bleeds belongs at a shop. Splitting tasks this way prevents damage from amateur repairs and keeps your tool kit lean.
The ABC Quick Check takes 2–5 minutes before every ride. Check air pressure in both tires, test both brakes for firm response, and inspect the chain and cranks for obvious wear or looseness. This protocol catches the problems most likely to end a ride early.
Weekly cleaning routines add 2–3 years to drivetrain life and save $200–$500 annually in avoided repairs. A 15-minute session covering chain lubrication, wipe-down, and a quick bolt check pays for itself many times over.
| Task | Frequency | Time required | Who handles it |
|---|---|---|---|
| ABC Quick Check | Before every ride | 2–5 minutes | Rider |
| Chain lube and wipe-down | Weekly | 10–15 minutes | Rider |
| Full drivetrain clean | Monthly | 30–45 minutes | Rider |
| Brake pad inspection | Monthly | 5 minutes | Rider |
| Wheel truing | As needed | 30+ minutes | Shop |
| Cable replacement | Every 6–12 months | 45+ minutes | Shop |
The most common mistake cyclists make is hiding tools in closed boxes or drawers. Hidden tools get forgotten. If you cannot see it, you will not use it. Keep your maintenance tools visible and within arm’s reach of the bike.
How do you organize cycling gear for travel and rides away from home?
Mobile gear organization follows the same logic as home storage, but the constraint changes from space to weight and sequence. You are not building zones. You are building layers.
Category modularity is the most practical framework for packing panniers and bike bags. Treat each bag like a filing cabinet. Assign one pouch or packing cube to each category: tools, nutrition, apparel, and safety gear. Color-coded cubes or ziplock bags make the system visible at a glance. When you switch from a day ride to a multi-day tour, you add or remove modules without reorganizing everything.
The inverted stack method solves the most frustrating packing problem: digging to the bottom of a bag for something you need first. Pack in reverse order of use. The last thing you need goes in first. Your rain jacket, lights, and snacks go in last because you will reach for them first. This method works for panniers, frame bags, and saddle bags equally well.
Packing dos and don’ts for rides away from home:
- Do pre-pack a modular tool kit that transfers between bags without repacking.
- Do use a checklist for every trip. Memory is unreliable when you are tired or rushing.
- Do keep safety gear, including lights and a high-visibility reflector, in the same pocket every time.
- Don’t pack items you “might” need without a specific reason. Every extra gram costs energy.
- Don’t mix tools and food in the same compartment. Contamination and grease are real problems.
- Don’t skip labeling bags just because you packed them yourself. After a long day, you will not remember which pouch holds what.
A commuter cycling safety mindset applies directly to mobile packing. The same discipline that keeps your home station organized keeps your bags functional on the road.
Key Takeaways
A consistent cycling gear organization process, built on the 3-zone system and the ABC Quick Check, reduces pre-ride time, extends equipment life, and builds the muscle memory that makes every ride more efficient.
| Point | Details |
|---|---|
| Use the 3-zone system | Place daily gear at eye level, tools at mid-level, and infrequent items at low-level. |
| Build muscle memory | Assign permanent homes to every item so pre-ride prep becomes automatic. |
| Run the ABC Quick Check | Check air, brakes, and chain before every ride to catch problems in 2–5 minutes. |
| Apply category modularity | Use color-coded packing cubes so mobile kits adapt to any ride without full repacking. |
| Maintain weekly, not just before events | A 15-minute weekly routine saves $200–$500 annually and extends drivetrain life by years. |
What I have learned from years of building gear systems that actually stick
Most cyclists approach organization as a one-time project. They spend a weekend setting up a beautiful system, take a photo of it, and then slowly let it collapse back into chaos over the following month. The problem is not motivation. It is that the system was designed for aesthetics, not for how they actually behave when they are tired, rushed, or coming home in the rain.
The gear organization systems that last are the ones built around friction reduction, not visual appeal. If returning an item to its spot takes more than three seconds, it will not happen consistently. That is not a character flaw. It is just how habits work. The solution is to make the correct behavior the easiest behavior.
I have also found that cyclists consistently underestimate how much money they lose to disorganization. It is not just the cost of replacing a lost multi-tool. It is the drivetrain that wears out twice as fast because lubrication was skipped, or the tire that fails mid-ride because the patch kit was buried and never checked. Consistent maintenance saves more money than any single gear upgrade ever will.
Start with the simplest version of the system. Three hooks, two bins, and a pegboard. Get that working for 30 days before adding anything. Complexity added before habits form just creates more chaos.
— Sophie
Gear that belongs in every organized cycling kit
Thebeamofficial builds safety equipment designed to live permanently in your gear system, not get left behind because it was hard to find or awkward to pack.

The FRAME FLASH bike reflectors from Thebeamofficial are built for exactly this kind of system. They are minimalist, lightweight, and designed to stay on the bike or clip into a dedicated spot in your lighting zone without adding bulk. For cyclists who want to push their organization and fitness further, Thebeamofficial’s ultracycling event gives you a concrete goal that makes every hour of gear prep feel worthwhile. A well-maintained, well-organized kit is not just convenient. It is what keeps you safe when conditions change fast.
FAQ
What is the cycling gear organization process?
The cycling gear organization process is the systematic method of categorizing, storing, and arranging all cycling equipment so every item has a fixed location for fast, reliable access before and after every ride.
How does the 3-zone storage system work?
The 3-zone system places frequently used gear at eye level, tools and maintenance supplies at mid-level, and infrequent items at low-level, cutting retrieval time to near zero through consistent placement.
How often should I clean and maintain my cycling gear?
Run the ABC Quick Check before every ride and complete a full chain lube and wipe-down weekly. Weekly maintenance adds 2–3 years to drivetrain life and saves $200–$500 annually in repair costs.
What is the best way to pack cycling gear for travel?
Use category modularity with color-coded packing cubes, and apply the inverted stack method so the gear you need first sits on top. This prevents digging through bags mid-ride.
How do I store my cycling helmet properly?
Store your helmet at eye level in a dedicated spot, away from direct sunlight and chemical fumes. Thebeamofficial’s helmet storage guide covers the most common mistakes that shorten helmet lifespan and compromise protection.


