

For most cyclists, a dual front and rear dashcam setup is the safest bet: it captures the full sequence of an incident, from an aggressive overtake to who actually caused the crash. If cost or weight rules that out, prioritize rear-only if dangerous passes and close overtakes are your main worry, or front-only if you mostly ride solo and want intersection and traffic context. One caveat worth knowing upfront: footage helps support a complaint in France, but it’s not an automatic legal shortcut since authorities review it case by case.
- Dual front + rear: best overall coverage, ideal for commuters and high-traffic riders.
- Rear-only: best if your main concern is dangerous overtakes and close passes
- Front-only: best for solo road riders who want intersection and collision context
- Footage can support a police report or insurance claim in France, but admissibility isn’t guaranteed
Key Takeaways
A dual front and rear dashcam setup gives cyclists the most complete incident evidence, but a well-mounted single camera with loop recording and incident lock still covers most real-world risks.
| Point | Details |
|---|---|
| Default to dual coverage | Urban commuters and high-traffic riders benefit most from front and rear channels together. |
| Loop recording is non-negotiable | It keeps the camera recording continuously without manual file management. |
| Mount angle affects usability | Angle rear cameras roughly 15 degrees downward to keep plates and road surface in frame. |
| Waterproof your power setup | Seal cable junctions and store powerbanks in a sealed bag to prevent the most common failure point. |
| The Beam covers both angles | Thebeamofficial’s RS 1000 dashcam and rearview camera with AI alerts address front and rear coverage for riders who want a brand-backed setup. |
Table of Contents
- Front-Facing Dashcam: What It Captures, Strengths, and Limits
- Rear-Facing Dashcam: What It Captures, Strengths, and Limits
- Single Camera vs Dual-Channel: When You Need Both
- Critical Features to Prioritize
- Installation and Power: Mounts, Angles, and Battery Strategy
- Why The Beam Recommends This Approach
- Quick Recommendation and Buying Checklist
- What Actually Matters Once You Cut Through the Spec Sheets
- Get Set Up With a Dashcam Built for Real Riding Conditions
- Frequently Asked Questions
- Sources
Front-Facing Dashcam: What It Captures, Strengths, and Limits
A front camera records what’s coming at you: approaching cars, intersection traffic, and the moment a vehicle cuts across your path. That footage matters most for proving who caused a head-on or intersection collision, and it’s the natural pick for long-distance road riders who spend more time reacting to oncoming traffic than watching their six.
The trade-offs are real, though. Handlebar mounts pick up more vibration, and glare off wet roads or low sun can wash out plates and faces right when you need them most. Helmet mounts reduce that shake but add weight and can shift the camera’s angle mid-ride if the strap isn’t snug.
- Handlebar mount: easiest to install, most vibration
- Helmet mount: smoother footage, but adds weight up top
- Top-cap mount: compact and low-profile, but limited field of view
Pro Tip: If you’re mounting on the handlebar, tighten the clamp until you can’t wiggle the camera by hand. Even a slight wobble turns a plate number into a blur on playback.
Rear-Facing Dashcam: What It Captures, Strengths, and Limits
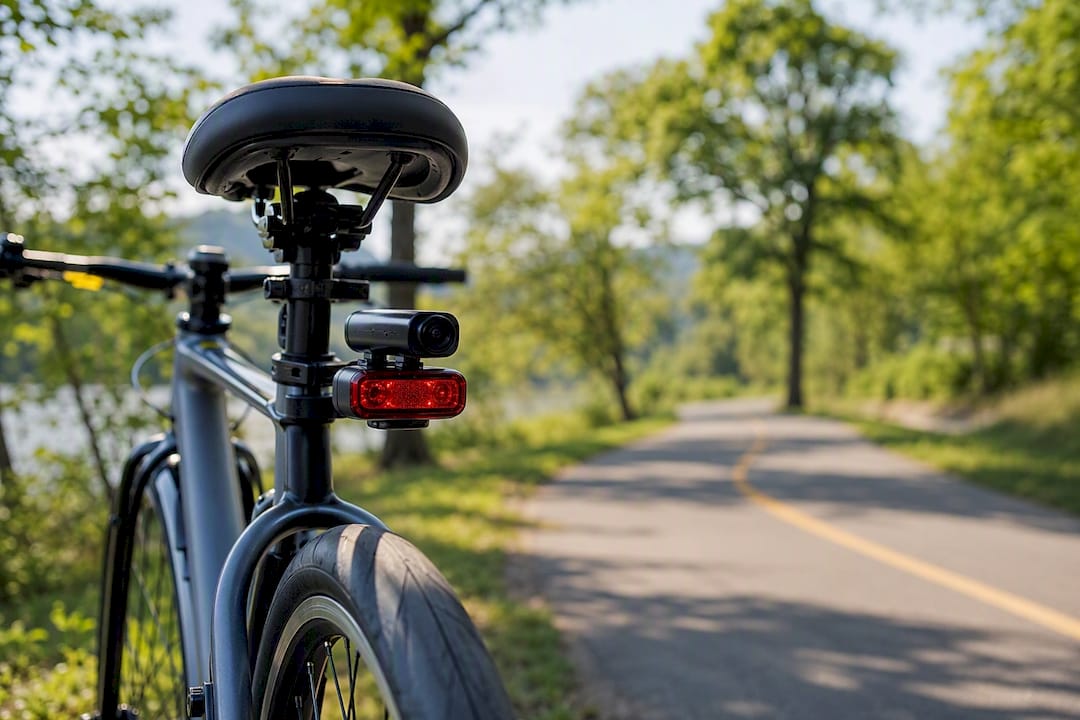
A rear camera exists for one job: documenting who’s behind you and how they behave before they pass, advice especially relevant for urban commuters following urban commuting seating tips for a comfortable ride. That’s the footage that shows a car crossing the center line, tailgating too close, or clipping your mirror on the way by. For urban commuters navigating narrow lanes and impatient drivers, this is usually the more valuable half of the setup.
Seatpost and rear rack mounts are the two common options, and both fail the same way when installed carelessly: aimed too high, they catch sky instead of plates.
- Mount slightly downward to keep plates and road surface in frame
- Avoid rear rack mounts that vibrate loose over rough pavement
- Check the angle after every bag swap or saddle adjustment, since it shifts more than riders expect
Single Camera vs Dual-Channel: When You Need Both
Running one camera is cheaper, lighter, and easier to manage, but it means you only capture half the story. A dual-channel system, like the Innovv K6, which pairs a 2K front lens with a 1080p rear channel, gives you complete evidence of an incident from both directions, at the cost of more setup and more power draw.
- Urban commuter riding through intersections daily: dual-channel is worth it. Traffic density means incidents can originate from either direction, and complete footage strengthens any claim or complaint filed afterward.
- Long-distance road rider on quiet rural routes: a single rear camera is often enough, since your main risk is a fast pass from behind on open roads, not intersection conflicts.
- Budget-conscious rider who rides occasionally: a single front or rear unit, paired with a rearview mirror or reflective accessory, covers the basics without the added cost of a second channel.
Weight and battery life scale with coverage. A dual setup with two lenses recording simultaneously drains faster than a single unit, so factor that into your power plan before committing.
Critical Features to Prioritize
Not every dashcam spec matters equally. A few features decide whether your footage is actually usable when you need it, and a few are marketing noise.
- Loop recording: overwrites old footage automatically so the camera never stops recording, a standard feature on most dedicated bike dashcams
- G-sensor / incident lock: detects a sudden impact or hard stop and locks that clip so it can’t be overwritten
- Stabilization: matters more than resolution for readable footage, since helmet mounts reduce vibration compared to handlebar mounts
- Field of view: a narrower rear lens around 120 to 130 degrees aimed lower often reads plates more clearly than an ultra-wide lens that captures more context but less detail
- IP rating: IP67 or similar is standard on most dual-channel units and worth checking before you buy
Loop recording and incident lock are the two features that decide whether an incident actually gets preserved. Everything else is refinement.
Installation and Power: Mounts, Angles, and Battery Strategy
Most dashcam failures aren’t about the camera. They’re about the cable and the power source. Water finds its way into exposed USB junctions faster than most riders expect, and a loose or unprotected powerbank connection is one of the most common points of failure in wet weather.
- Mount the rear camera at roughly 15 degrees downward on the seatpost; keep the front camera angled level for the widest usable view.
- Route power cables along the non-drive side of the frame, away from the chain and derailleur.
- Store any external powerbank in a sealed frame bag and use IP67-rated connectors where cables meet.
- Re-seal cable junctions periodically with self-amalgamating tape, especially after wet rides.
- Confirm recording is active before every ride. It takes five seconds and catches dead batteries before they matter.
Pro Tip: Keep a spare SD card in your saddle bag. A full card is the single most common reason riders lose footage of the one incident they actually needed it for.
Why The Beam Recommends This Approach
Thebeamofficial builds cycling safety gear around the same principle this guide follows: coverage plus reliability beats a single flashy feature. Our product line reflects that directly.
- The RS 1000 AI dashcam covers front-facing incident capture with smart alerts
- Our rearview camera with smart light and AI alerts handles rear coverage and visibility together
- Our mirror installation guide covers mounting fundamentals that apply just as well to camera placement
This article is an editorial safety guide, written to help you choose the right setup regardless of brand, and shaped by the same practical standards we build into our own products.
Quick Recommendation and Buying Checklist
- Urban commuter: go dual-channel. Intersection risk comes from every direction, and you’ll want both angles covered.
- Long-distance road rider: a rear camera plus a mirror covers your main risk zone without the added weight of a dual setup.
- Budget-conscious rider: start with one camera, oriented toward your biggest actual risk, and add reflective gear to fill the gap.
Before buying any unit, check these five things: coverage (front, rear, or both), loop recording, incident lock, mount compatibility with your bike, and a realistic power plan for your ride length.
What Actually Matters Once You Cut Through the Spec Sheets
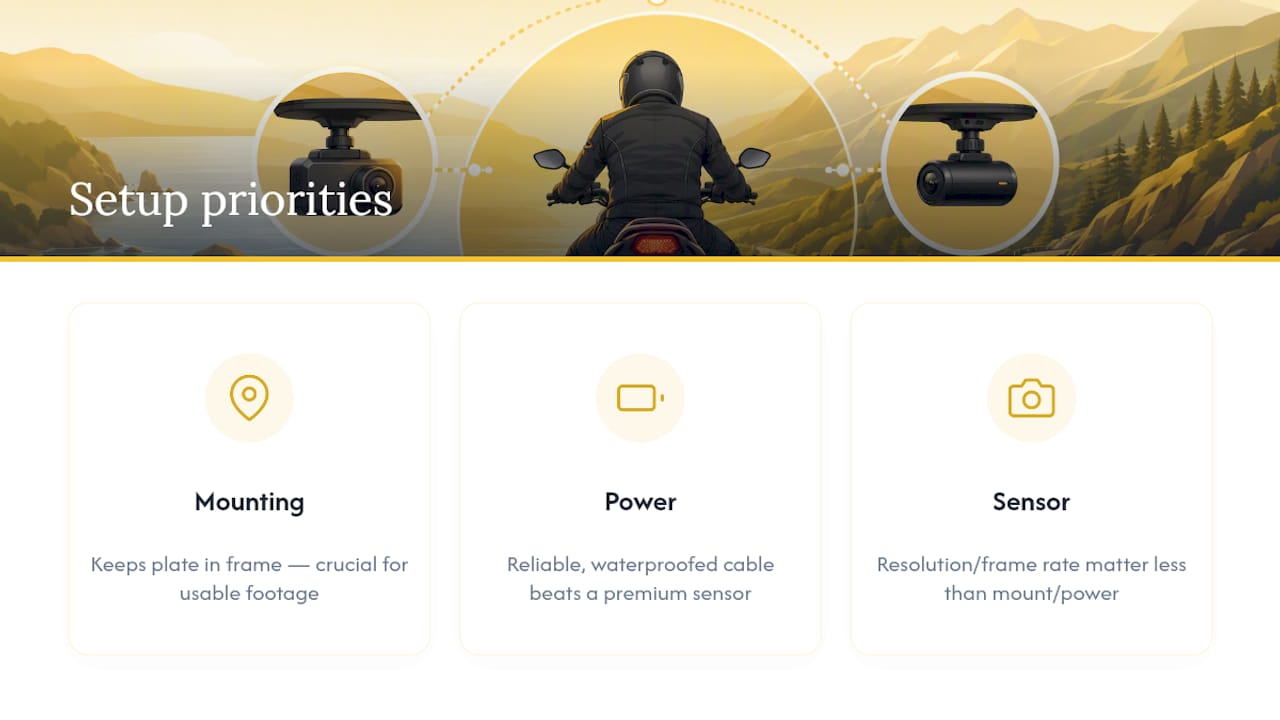
Most dashcam advice focuses on resolution and frame rate, as if a sharper image is what wins a dispute after a close pass. It rarely is. What actually decides whether footage is usable comes down to two boring things: did the camera stay recording, and was it mounted at an angle that kept the plate in frame. A 4K camera aimed at the sky is worthless.
The conventional wisdom of “get the best camera you can afford” undersells how much mounting and power reliability matter compared to sensor quality. A mid-range unit with a secure mount and a waterproofed cable setup will out-perform a premium camera that dies from a corroded USB connection three rides in.
If you’re deciding where to start, prioritize rear coverage first if you ride in traffic, because that’s where the passes that actually endanger you happen. Add front coverage once the basics are solid. Skip the temptation to chase spec sheets before you’ve solved cable management, because that’s where most setups actually fail.
Get Set Up With a Dashcam Built for Real Riding Conditions
Thebeamofficial designs its rearview camera and lighting systems specifically for the failure points this guide covers: unreliable mounts, exposed cables, and cameras that die mid-ride when you need them most. If you’ve read this far because you’re tired of gear that looks good on a spec sheet but falls apart on wet roads, that’s exactly the gap our rearview camera with smart light and AI alerts is built to close.

Riders who train for long, unsupported distances face the highest stakes when equipment fails, which is part of why we support the community through our ultracycling event. Whether you’re commuting daily or logging long solo miles, pair your camera setup with a high-visibility reflector for the gaps a lens alone can’t cover, and check our current lineup to find the combination that matches your ride.
Frequently Asked Questions
Is a front or rear dashcam better for cycling? A rear dashcam usually captures more actionable evidence for cyclists, since most dangerous incidents involve a vehicle passing from behind. A front camera adds context for intersection collisions and head-on incidents, which matters more for road riders on rural routes.
Do I need a bike dashcam if I already have a rearview mirror? A mirror helps you react in real time, but it doesn’t record anything. A dashcam gives you documented footage after the fact, which is useful for insurance claims or police reports that a mirror can’t provide.
Is it legal to record while cycling in France? Yes, recording on public roads while riding is not prohibited in France. Whether that footage helps in a legal proceeding is a separate question, since judges and authorities review it case by case rather than accepting it automatically.
What’s the biggest cause of bike dashcam failure? Cable and power issues, not the camera itself. Exposed USB connections and unprotected powerbanks are common points of water damage, especially on wet commutes, which is why sealed junctions and secure storage matter more than most riders assume.
Sources
- Best bike and helmet cameras 2026: expert reviewed and rated | Cycling Weekly
- Are dashcams legal in France? | Deleporte-Wentz avocat


