
Urban cycling means constant alertness as you weave through busy streets in France and Germany. Every commute brings unexpected challenges, from dense vehicle flows to unpredictable intersections, making understanding potential hazards your greatest defense. With the right approach, you can prepare for these risks and select the best helmet for your journey. This guide walks you through practical strategies to assess your environment and choose high-end gear so you ride with greater confidence and protection.
Table of Contents
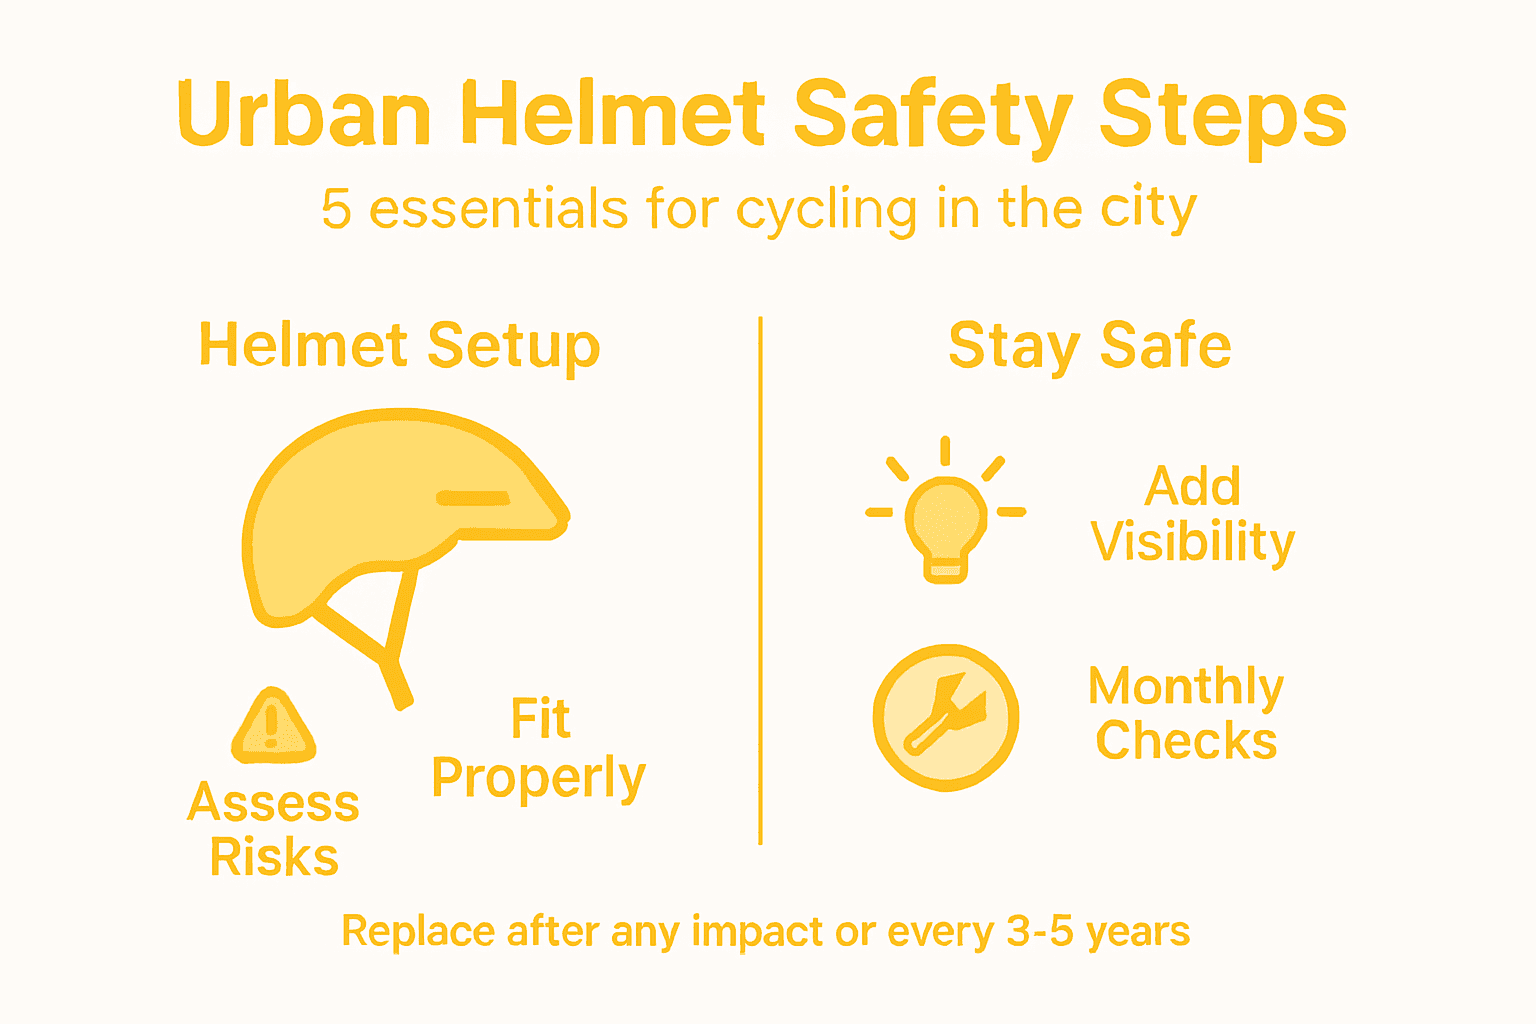
- Step 1: Assess Your Cycling Environment
- Step 2: Select The Right High-End Helmet
- Step 3: Adjust And Fit Your Helmet Properly
- Step 4: Secure Helmet Accessories For Visibility
- Step 5: Inspect Helmet For Safety And Comfort
Quick Summary
| Important Insight | Explanation |
|---|---|
| 1. Assess Your Cycling Environment | Analyze factors like traffic patterns and road conditions before cycling to enhance safety. |
| 2. Choose a High-End Helmet | Select helmets with safety certifications and enhanced impact protection tailored to your cycling needs. |
| 3. Ensure Proper Helmet Fit | A well-fitted helmet is crucial; it should sit securely and comfortably without shifting. |
| 4. Use Accessories for Visibility | Add reflective elements and lights to your helmet for improved visibility in traffic. |
| 5. Regularly Inspect Your Helmet | Conduct monthly checks for damage and replace helmets after significant impacts to ensure safety. |
Step 1: Assess Your Cycling Environment
Urban cycling requires careful evaluation of your environment to maximize safety and minimize risks. Understanding potential hazards is crucial before you even mount your bicycle, ensuring you’re prepared for the dynamic challenges of city streets.
To effectively assess your cycling environment, consider these key factors:
- Traffic density and patterns: Analyze how many vehicles occupy your typical routes
- Road infrastructure: Evaluate the presence and quality of dedicated bike lanes
- Intersection complexity: Identify challenging crossings and potential conflict zones
- Surface conditions: Check for potholes, construction zones, and uneven pavement
Cities present unique challenges for cyclists, with diverse traffic safety risks. Motor vehicle interactions, unpredictable pedestrian movements, and rapidly changing street conditions demand constant vigilance.
Helmet selection becomes critical based on your specific urban cycling context. Different environments require tailored protective strategies, from navigating dense downtown areas to maneuvering through residential neighborhoods with variable traffic speeds.
Here’s a quick comparison of common urban cycling environments and their unique helmet considerations:
| Environment Type | Typical Risks | Helmet Feature Focus |
|---|---|---|
| Downtown city center | High traffic, bus lanes, taxis | Maximum impact protection |
| Residential neighborhoods | Variable speeds, parked cars | Enhanced ventilation, comfort |
| Mixed-use paths | Pedestrians, unpredictable stops | Superior visibility features |
| Industrial zones | Heavy trucks, debris, noise | Robust shell, bright accents |
Your helmet isn’t just equipment - it’s your primary defense against unexpected urban cycling challenges.
Pro tip: Always conduct a quick 5-minute route reconnaissance before committing to a new cycling path, noting potential hazards and safe zones.
Step 2: Select the Right High-End Helmet
Choosing the perfect helmet is more than just a fashion statement - it’s a critical safety decision that could save your life in urban cycling scenarios. Your goal is to find a helmet that offers maximum protection, comfort, and compatibility with your specific riding environment.
When selecting a high-end helmet, focus on these essential criteria:
- Safety certifications: Look for helmets meeting rigorous safety standards
- Impact protection technology: Prioritize models with MIPS or similar rotational impact reduction systems
- Fit and comfort: Ensure a snug, adjustable fit with multiple sizing options
- Ventilation design: Select helmets with strategic airflow channels
Top-tier urban cycling helmets distinguish themselves through advanced features. Advanced materials like polycarbonate and expanded polystyrene provide superior shock absorption, while integrated technologies protect against complex impact scenarios.
A high-end helmet is an investment in your personal safety - never compromise on protection.
Comparing different helmet models helps identify the best match for your specific urban cycling needs. Consider factors like your typical routes, traffic density, and personal comfort preferences.

Pro tip: Try on multiple helmet sizes and perform the “roll-off” test by bending forward to ensure a secure, stable fit that won’t shift during sudden movements.
Step 3: Adjust and Fit Your Helmet Properly
Perfecting your helmet fit is a critical step in ensuring maximum safety during urban cycling. Your goal is to create a secure, comfortable helmet that stays precisely in place during unexpected movements or potential impacts.
Follow these essential steps to achieve a proper helmet fit:
- Measure your head circumference accurately using a soft measuring tape
- Position the helmet level on your head
- Adjust the side straps to create a V-shape under your ears
- Secure the chin strap with the right tension
Key fitting guidelines include:
- Helmet placement: Front edge should sit one to two finger-widths above your eyebrows
- Side straps: Create a smooth V-shape that sits just below your ear lobes
- Chin strap: Tight enough to prevent movement, but comfortable
- Stability test: Shake your head - a properly fitted helmet will not shift
Comfort and protection go hand in hand. A helmet that moves excessively or feels uncomfortable will not provide optimal safety during urban cycling scenarios.
A well-fitted helmet is your first line of defense against potential head injuries.
Regular fit checks are essential, especially if you experience weight changes or use the helmet frequently in varying conditions.
Pro tip: Perform a “roll-off” test by bending forward - if the helmet stays securely in place, you’ve achieved the perfect fit.
Step 4: Secure Helmet Accessories for Visibility
Enhancing your helmet’s visibility is a crucial safety strategy for urban cyclists navigating complex traffic environments. Your objective is to add strategic accessories that dramatically increase your detectability without compromising the helmet’s structural integrity.
When selecting visibility enhancement accessories, consider these key guidelines:
- Reflective elements: Add stickers or tape that catch vehicle headlights
- LED lights: Attach compact, lightweight blinking lights
- Bright color accents: Use high-visibility patches or covers
- Positioning: Ensure accessories are securely mounted without altering helmet structure
Key mounting considerations include:
- Check manufacturer guidelines before adding any accessories
- Select clip-on or adhesive options that do not penetrate helmet shell
- Test accessory attachment by gently tugging to ensure secure placement
- Replace accessories if adhesive weakens or light functionality diminishes
Visibility matters. Urban cycling demands proactive safety measures that help motorists and pedestrians detect your presence quickly and accurately.
Your helmet is more than protection - it’s a dynamic safety communication tool.
Regular maintenance of visibility accessories ensures they remain effective in various lighting and weather conditions.
Pro tip: Choose accessories with rechargeable batteries and water-resistant ratings to maximize long-term reliability and performance.
Step 5: Inspect Helmet for Safety and Comfort
Regular helmet inspection is critical to maintaining your safety and ensuring optimal protection during urban cycling. Your goal is to systematically evaluate every aspect of your helmet’s condition and performance.
Conduct a comprehensive helmet safety inspection using these detailed criteria:
- Outer shell: Check for cracks, deep scratches, or structural deformations
- Inner foam liner: Examine for compression, tears, or deterioration
- Straps and buckles: Verify no fraying, weakening, or material breakdown
- Padding: Confirm even distribution and no significant wear
Key inspection steps include:
- Visual examination: Look for subtle signs of damage under good lighting
- Physical testing: Gently press and manipulate helmet components
- Strap functionality: Test buckle and adjustment mechanisms
- Compare against manufacturer specifications
Comfort and protection are interconnected. A compromised helmet cannot provide reliable safety, regardless of how comfortable it feels.
Your helmet’s integrity is your primary defense against potential head injuries.
Remember that helmets have a limited lifespan and should be replaced periodically or after significant impacts.
This summary highlights when it’s time to replace or inspect your helmet for safety:
| Reason for Replacement | Action Needed | Safety Benefit |
|---|---|---|
| Visible shell crack | Replace helmet immediately | Prevent failure during impact |
| Interior liner degradation | Replace when padding thins | Maintain shock absorption |
| Strap or buckle failure | Repair or replace promptly | Ensure helmet stays secure |
| After any crash/impact | Replace regardless of appearance | Guarantee ongoing head protection |
| Older than 5 years | Replace as precaution | Meet updated safety standards |
Pro tip: Conduct a monthly detailed inspection and replace your helmet every three to five years, or immediately after any crash.
Equip Yourself for Ultimate Urban Cycling Safety with THE BEAM
Navigating urban streets demands more than just skill and awareness. It requires reliable protection and enhanced visibility tailored to your environment and riding style. If you want to maximize your helmet safety with top-tier features like impact protection technology and superior fit, explore THE BEAM’s collection of high-end helmets designed specifically for urban cyclists. Our range covers everything from innovative helmet designs to essential helmet add-ons that boost your visibility and security.

Take control of your urban cycling safety today at THE BEAM. Discover our exclusive Helmet add ons – The Beam to upgrade your helmet with reflective gear and LED lights. If you are looking for gear for younger riders, browse our selection of Kids’ Helmets – The Beam. Don’t wait to equip yourself with the protection and comfort you deserve. Start your safer ride now.
Frequently Asked Questions
How do I assess my cycling environment before riding in the city?
To assess your cycling environment, evaluate traffic density, road infrastructure, intersection complexity, and surface conditions. Conduct a brief reconnaissance of your route, noting any hazards or safe zones to enhance your awareness before you ride.
What features should I look for in a high-end helmet for urban cycling?
When selecting a high-end helmet, prioritize safety certifications, impact protection technology, fit, comfort, and ventilation design. Choose a model that meets rigorous safety standards and has features like rotational impact reduction systems to ensure maximum protection.
How can I ensure my helmet fits properly for optimal safety?
To ensure a proper helmet fit, measure your head circumference, adjust the side straps to form a V-shape under your ears, and secure the chin strap. Perform a stability test by shaking your head – if the helmet does not shift, it fits properly.
What accessories can I add to my helmet to improve visibility while cycling?
To enhance your helmet’s visibility, consider adding reflective elements, LED lights, and bright color accents. Securely mount these accessories according to manufacturer guidelines to ensure they do not compromise the helmet’s structural integrity.
How often should I inspect my helmet for safety and comfort?
Regularly inspect your helmet at least once a month, checking for cracks, wear on straps, and the condition of the inner foam. Replace your helmet every three to five years or immediately after any significant impact to maintain effective protection.
What are the signs that I need to replace my helmet?
You should replace your helmet if you notice visible cracks, degradation of the inner liner, or failure of straps and buckles. Additionally, replace it immediately after any crash, regardless of its appearance, to ensure ongoing head protection.


