
TL;DR:
- Proper helmet fit ensures maximum protection and comfort, taking about five minutes to achieve.
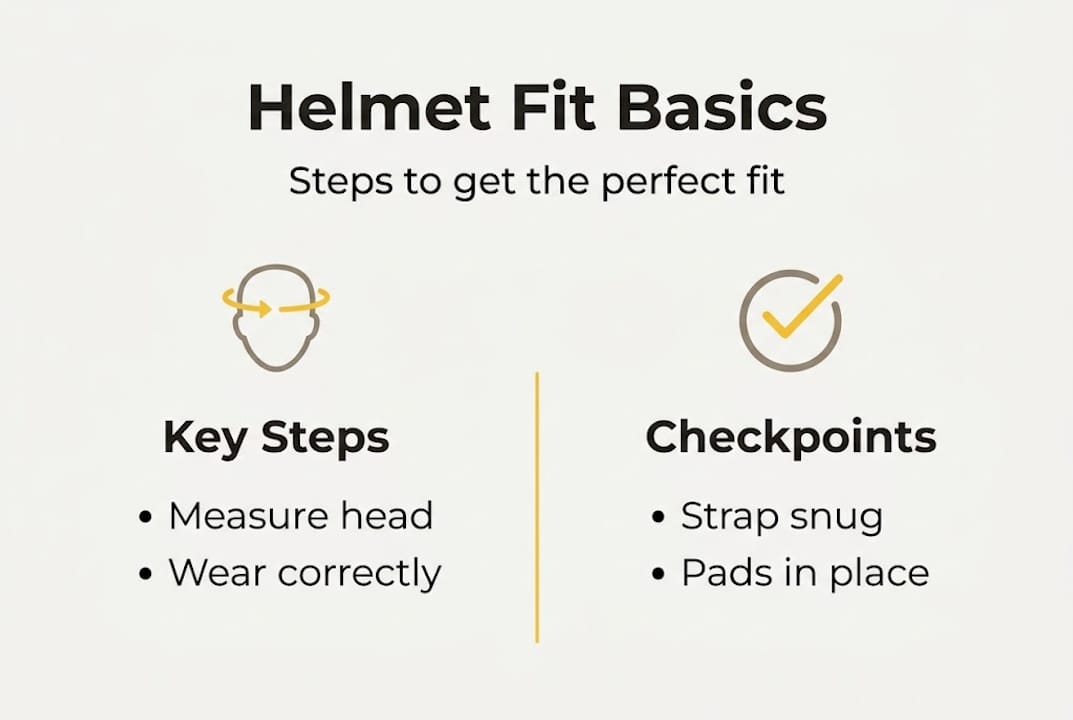
- Key fitting steps include level positioning, snug retention, correct strap placement, and movement tests.
- Always check helmet safety ratings beyond certification to ensure impact absorption and rotatory force protection.
A helmet sitting too far back on your head or loose enough to wobble is not just uncomfortable, it is genuinely dangerous. Improper fit reduces protection in a crash by allowing the helmet to shift exactly when you need it most. The good news is that getting a perfect fit takes about five minutes and a few simple checks. Whether you ride a road bike in the countryside, commute through city traffic, or cruise on an e-bike, this guide walks you through every step to maximize both safety and comfort.
Table of Contents
- What you need to start helmet fitting
- Step-by-step guide to perfect helmet fitting
- Testing and troubleshooting your helmet fit
- Comfort, maintenance, and special fit considerations
- What most cyclists miss about helmet fitting
- Ready for your safest ride? Explore quality helmets
- Frequently asked questions
Key Takeaways
| Point | Details |
|---|---|
| Accurate measurement first | Always start by measuring your head and checking the size chart to find the right helmet size. |
| Follow step-by-step adjustments | Proper positioning and secure straps are essential for both safety and comfort during every ride. |
| Test before every ride | Verify your helmet fit with the shake and palm push tests to insure lasting protection. |
| Recheck regularly | Helmet pads and fit can change over time, so inspect and readjust monthly or after impacts. |
What you need to start helmet fitting
Before you touch a helmet, gather the right tools. Trying to estimate your head size by guesswork almost always leads to the wrong size, and most brands size differently enough that a medium in one brand might be a large in another.
Here is what you need before you start:
- A flexible measuring tape (cloth or plastic, not a metal ruler)
- A mirror or a second person to help check positioning
- Any hair accessories you normally ride with (ponytail holder, headband, cap)
- Your glasses or sunglasses if you wear them while riding
- Access to the brand’s specific size chart, not a generic one
Measure your head circumference about one inch above your eyebrows, keeping the tape level all the way around. This is your key number. Also note your head shape: some people have rounder heads when viewed from above, others are more oval front-to-back. Many helmet brands optimize their internal shape for one or the other, which affects fit even when the circumference matches.
Pro Tip: Always bring your glasses and your typical riding hairstyle to any in-store fitting. A helmet that fits perfectly with hair down may feel completely different with a ponytail.
| Tool | Why it matters |
|---|---|
| Flexible tape measure | Accurate circumference reading |
| Brand size chart | Sizes vary between manufacturers |
| Hair accessories | Simulate real riding conditions |
| Glasses | Check strap and temple compatibility |
| Mirror | Confirm positioning and level |
Knowing your bike helmet fit basics before you shop means you spend less time guessing in the store and more time riding confidently.
Step-by-step guide to perfect helmet fitting
Once you have your measurement and your tools ready, the actual fitting process is straightforward. The key is patience. Rushing through it means missing adjustments that matter.
Follow these steps in order:
- Place the helmet on your head. It should sit level, not tilted back. The front edge should be one to two finger-widths above your eyebrows, protecting your forehead without blocking your vision.
- Adjust the rear retention system. Most modern helmets have a dial or ratchet at the back of the head. Tighten it until the helmet feels snug all the way around but does not pinch.
- Set the side straps. The straps on each side should form a V-shape that meets just below and in front of each ear. Position straps so the V sits just below ears with no slack bunching under the jaw.
- Buckle and adjust the chinstrap. Once buckled, you should be able to fit exactly one finger between the strap and your chin. Any more and it is too loose. Any less and it will be uncomfortable on long rides.
- Check for uniform contact. The helmet should make light contact all the way around your head. If you feel a gap anywhere, adjust the pads or re-tighten the retention system.
- Test for movement. Shake your head side to side and front to back. The helmet should move with your head, not independently of it.
| Common fitting error | Correct result |
|---|---|
| Helmet tilted back | Sits level, 1-2 fingers above eyebrows |
| Straps flat against jaw | V-shape forms just under ears |
| Chinstrap too loose | One finger fits snugly between strap and chin |
| Retention dial under-tightened | Even contact, no rocking |
For urban helmet safety specifically, a snug and level fit is even more critical because city riders encounter unpredictable stops, obstacles, and traffic. Use the helmet fit checklist from the Helmet Safety Institute to confirm each step before your first ride.

Pro Tip: Always fit your helmet while wearing your glasses if you use them. Temple arms can interfere with strap positioning and change how the helmet sits.
If you ride in a city and want additional guidance on choosing the right shell for your style, city cycling helmet tips covers the full picture.
Testing and troubleshooting your helmet fit
Fitting is not done when you buckle the strap. You need to verify the fit before every ride, especially in the first few weeks when pads are still breaking in.
Run through these checks each time:
- The shake test. Shake your head vigorously in all directions. The helmet should stay locked in place and move with your skull, not slide around it.
- The palm push test. Perform the palm push test by placing your palm under the front edge and pushing up. The helmet should not slide back more than about one inch. If it goes further, tighten the retention system and re-check the chinstrap.
- Side-to-side push. Grip the helmet and push it left and right. Your skin should move slightly with the helmet. If the helmet slides freely against your head, the fit is too loose.
- Pressure point check. After wearing the helmet for 10 to 15 minutes, note any spots that feel sharp, painful, or numb. These signal a poor internal fit that padding adjustments or a different model can fix.
“A helmet that moves even slightly during a crash changes its contact point with the road. That small shift can mean the difference between the protected zone absorbing the impact and a vulnerable area taking the hit.”
If your helmet rocks forward when you look down, the rear retention dial needs tightening. If it rocks backward when you look up, your front straps are too long. Both are easy fixes that take under a minute.
For riders considering more protective options, integral helmet safety explains why full-coverage designs raise the protection baseline even further. More detailed helmet fitting guidance from certified sources is worth bookmarking for reference.
Recheck your fit monthly, after any ride in heavy rain (which can loosen straps), and any time you change your hairstyle significantly.
Comfort, maintenance, and special fit considerations
A perfectly safe helmet that you find uncomfortable will end up hanging on a hook instead of on your head. Comfort is crucial: a well-fitted helmet should feel almost forgettable after the first few minutes, with no hotspots, no pinching, and no shifting.
Common comfort problems and solutions:
- Red marks on forehead: Front edge is too low or retention too tight. Raise the helmet one finger width and re-tighten gently.
- Hotspot on top of head: The internal EPS shell does not match your head shape. Try a different brand or add a thin pad at the crown.
- Slipping during fast descents: Chinstrap is too loose or the helmet is too large for your circumference.
- Ponytail interference: Many helmets include a ponytail port at the base of the rear shell. If yours does not, try a lower bun or a different model.
- Glasses conflict: Temple arms should slide under the straps, not over them. Reposition straps before adding glasses each time.
Pads compress with regular use, which gradually loosens an otherwise perfect fit. Swap them out every 12 to 18 months or whenever the interior feels significantly softer than when new.
Pro Tip: If you fall between two sizes, always choose the snugger one. You can add thicker pads to fill space, but you cannot shrink a shell that is too big.
For e-bike riders, the type of helmet also matters. Standard cycling helmets meet EN1078 certification, but higher-speed e-bikes (Class 3, above 28 mph) benefit from helmets meeting NTA8776 certification for greater impact protection at elevated speeds. Always replace a helmet after any impact, even if it looks fine, and plan to replace it every three to five years regardless. Explore the different cycling helmet types to find the right category for your riding style before committing to a specific model.
What most cyclists miss about helmet fitting
Here is something we rarely see discussed: following every fitting step perfectly still leaves you exposed if the helmet itself underperforms in a crash. Fit is the foundation, but it is not the whole story.
Studies show wide performance variation among certified helmets. Two helmets can both pass standard certification tests and differ dramatically in real-world impact absorption. Virginia Tech’s STAR rating system tests helmets under conditions that simulate actual cycling crashes, not just the standardized drop tests required for certification. The gap between a top-rated helmet and a budget-certified one is significant.
This means your process should always be: fit first, then filter by safety rating. Once you know your size and which models fit your head shape, look up how they score on independent impact tests. Prioritize helmets with technologies like MIPS (Multi-directional Impact Protection System) or equivalent rotational force management, because rotational force is responsible for a large share of serious cycling head injuries. Good fit and good technology together offer a level of protection that neither can provide alone.
We also recommend exploring different helmet types before purchasing, because shell geometry affects both fit and protection. Current helmet safety research reinforces that construction and materials matter as much as certification stamps.
Ready for your safest ride? Explore quality helmets
Now that you know exactly how a helmet should fit and what to look for in a quality design, the next step is finding one that checks both boxes.

At THE BEAM, we design helmets built around real-world protection, precision fit systems, and MIPS technology so your gear keeps up with every kind of ride. Whether you need a helmet for urban commuting, road cycling, or e-bike adventures, our shop quality helmets collection offers options engineered to fit and protect. Browse our curated adults’ helmets selection for road and urban riders, or find the right protection in our helmets for kids range. Getting the fit right is step one. Choosing a helmet built to perform in a crash is step two.
Frequently asked questions
How do I know if my helmet is too loose or too tight?
Your helmet is too loose if it shifts side-to-side or front-to-back when pushed. It is too tight if it leaves visible marks after short wear or triggers headaches.
How often should I check or adjust my helmet fit?
Check monthly and after any impact. Helmet pads compress with use, gradually making a snug fit feel looser over time.
Is helmet fitting different for road, urban, and e-bike helmets?
The fitting process is the same across all types. However, e-bike riders at higher speeds should look for NTA8776 certified helmets for greater protection.
What should I do if I’m between helmet sizes?
Always choose the snugger size. You can add or swap interior pads to refine the fit, and riders with significant hair volume may need to test both sizes with their typical hairstyle.
When should I replace my helmet?
Replace after any impact or every three to five years, even when there is no visible cracking or damage, because EPS foam degrades internally over time.


